
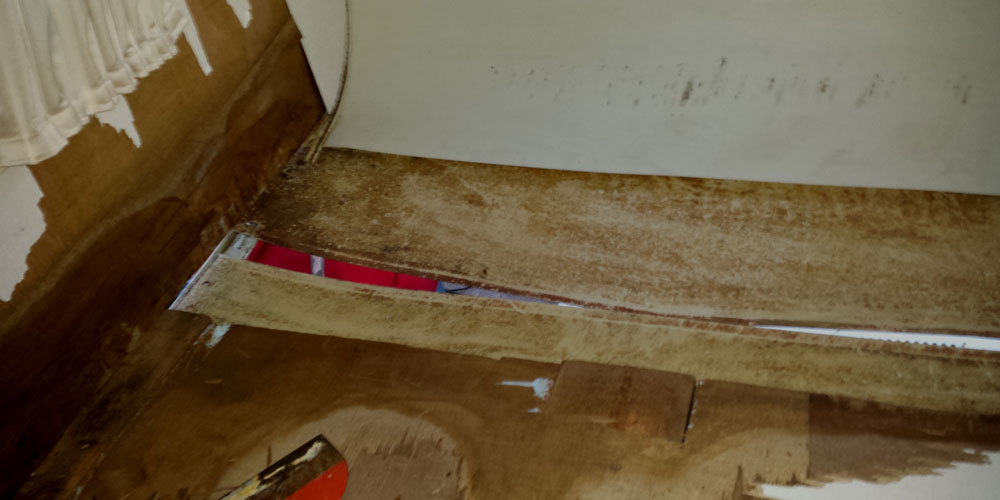
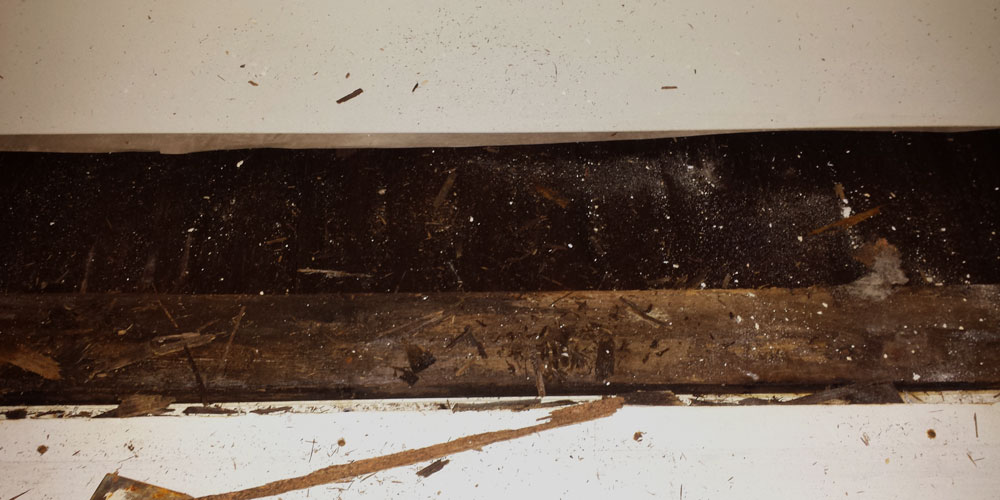
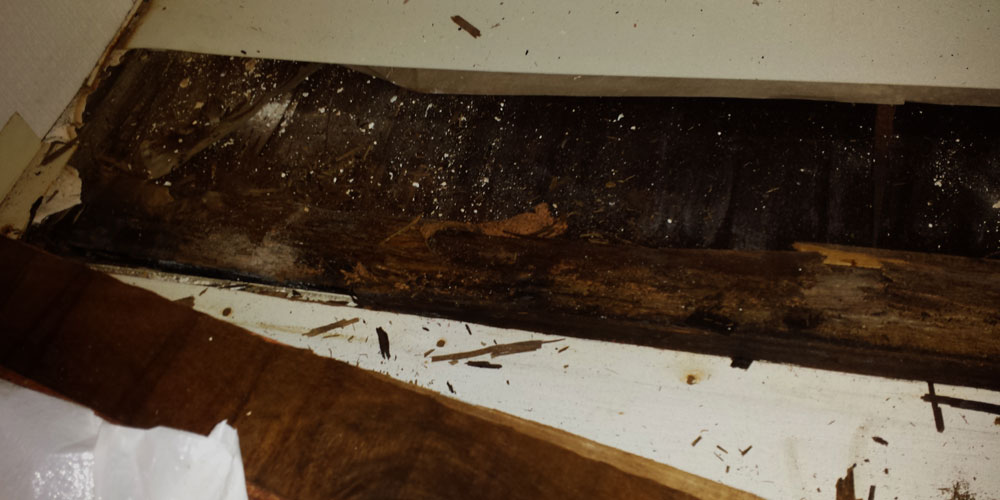
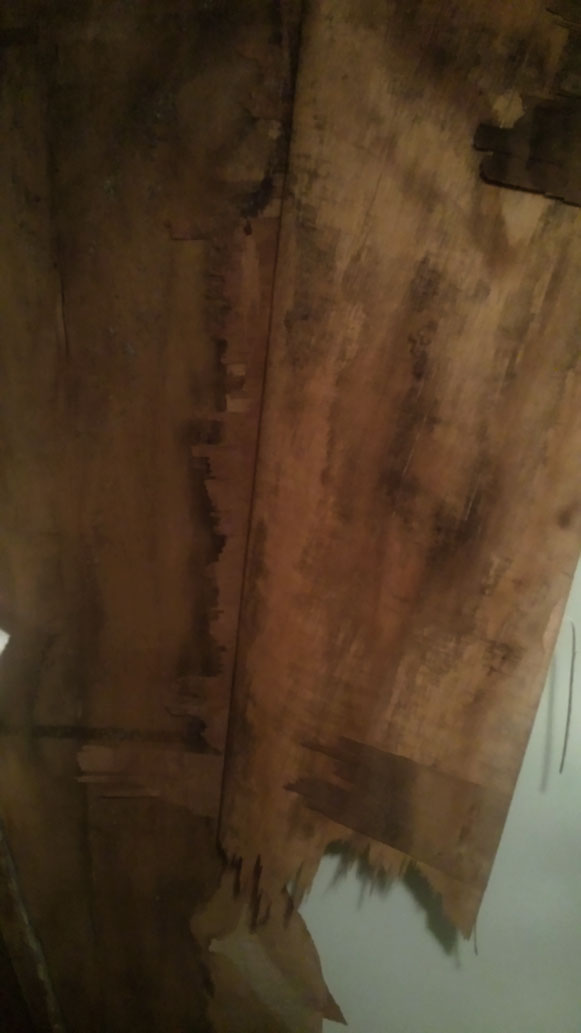
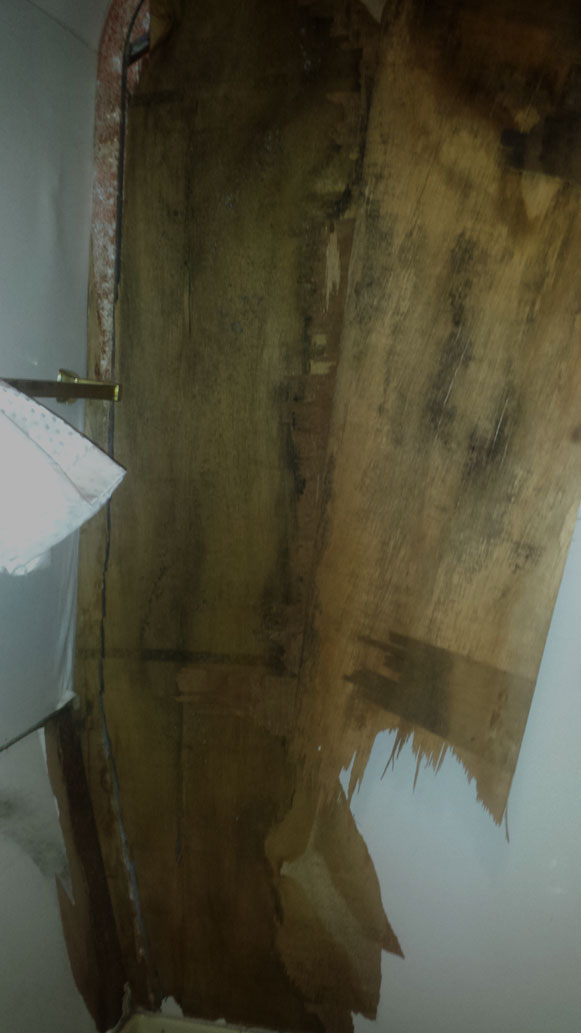
My recommendation when re-building any part of an old rig is, don’t hesitate to rip out all of the old, busted pieces. I learned this by trial and error, and always ended up ripping everything out eventually in order to fix the problems. Also, don’t always put things back together the way that the manufacturer did. This was the case when re-building the first piece of water damage that I took on, the overact bed area. Over the years, the weight in the bed area caused the seams to sag and let water in, so I put in extra reinforcement to improve the original construction. Once the damaged, rotted wood and styrofoam were removed from under the bed area, I replaced everything with higher quality materials. I bought the most rigid foam insulation I could find, white oak for reinforcing the structural supports, and, through trial and error, the best glues and self-penetrating screws i could find. By learning the hard way, I found out what worked for each purpose. Hopefully someone reading this won’t have to waste time and money figuring out what works. Here is the majority of what is holding my Yoterhome together:
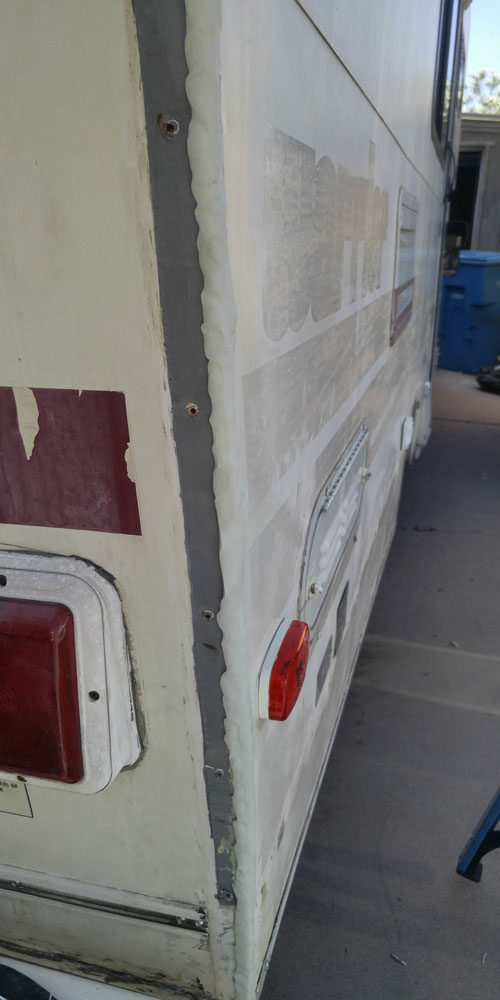
Butyl Tape – Indispensable. Every seam I took apart, be it the windows, the corner seams, the roof vents, and even the tail lights, I put butyl tape underneath everything before screwing it back together. It’s fairly easy to work with, and can be molded to cover up virtually any seam, and never dries out on you when you’re trying to work with it. The stuff never gets completely solid, so it lasts forever.
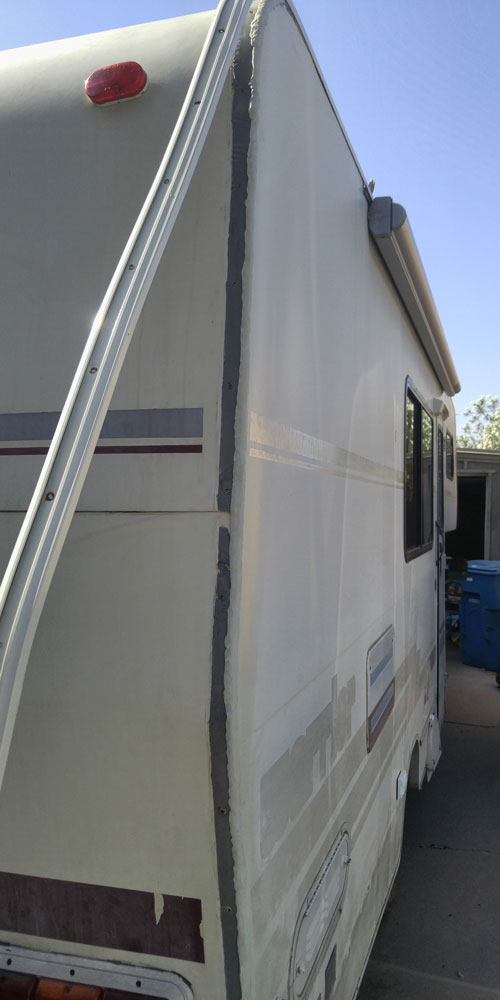
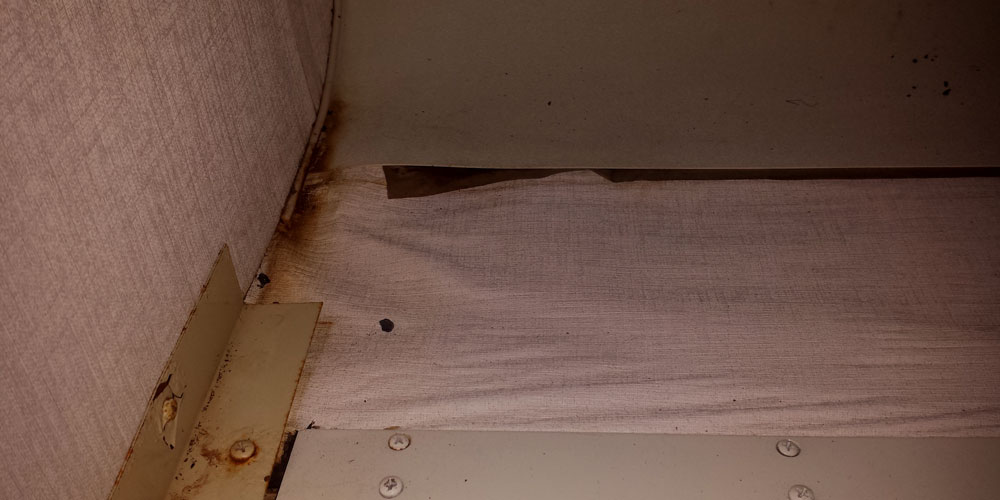
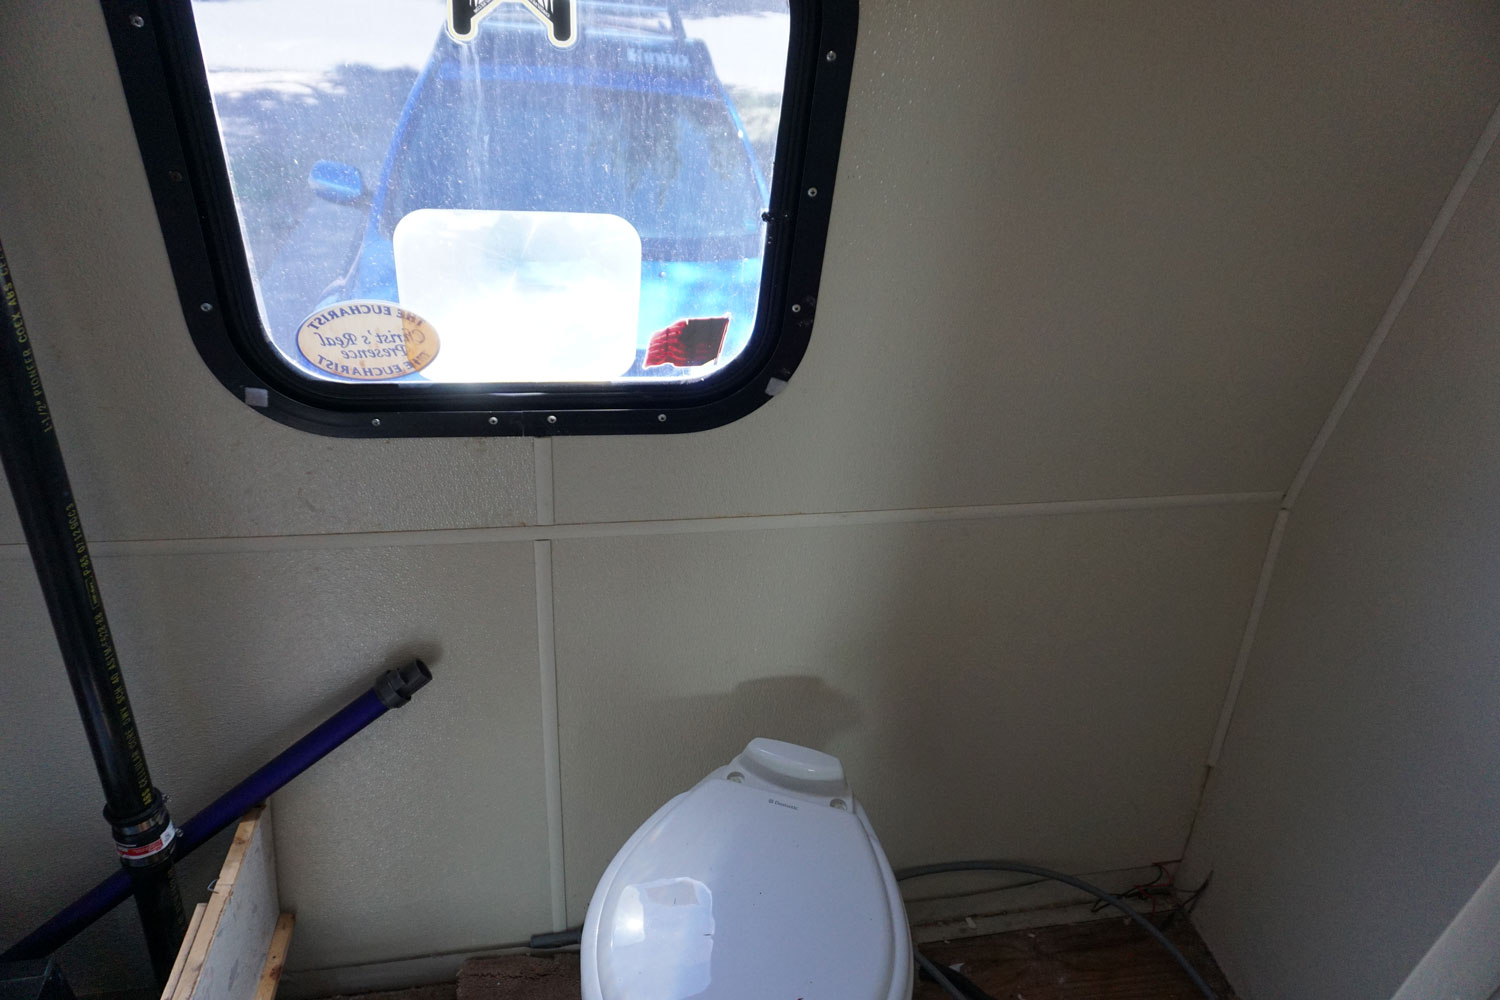
Geocell Proflex RV Sealant – After countless hours of scraping, sanding, cleaning, and scraping again, I needed to replace the horribly-smeared sealants the previous owner applied blindfolded with something that would last and look nice. Underneath all the seams I had to disassemble, I put a healthy layer of butyl tape first. On the exterior of the seams, after bonding with screws, I used Proflex of all different colors. I used Proflex on the corner seams, the marker lights, the tail lights, in the shower, and on some exterior panelling . The stuff is extremely tacky and thick, so it will stick to anything, and will last forever. It’s another sealant that never really fully dries, and flexes with the rig. Awesome stuff, buy a bunch.
Eternabond Tape – Also indispensable. This is for taping the seams of the roof. The old lap sealant on the Yoterhome was cracked and leaking in places, so I scraped off as much of the old goop as possible, used tech screws (instead of the original staples) to re-attach the metal roof to the underlying frame, and put a fresh strip of Eternabond over the seam. This stuff works great, but doesn’t look amazing, so I recommend only using this for the roof where nobody will see it. Word of caution, once this stuff is stuck, it does not become un-stuck, so be careful that it’s put in the right spot the first time.
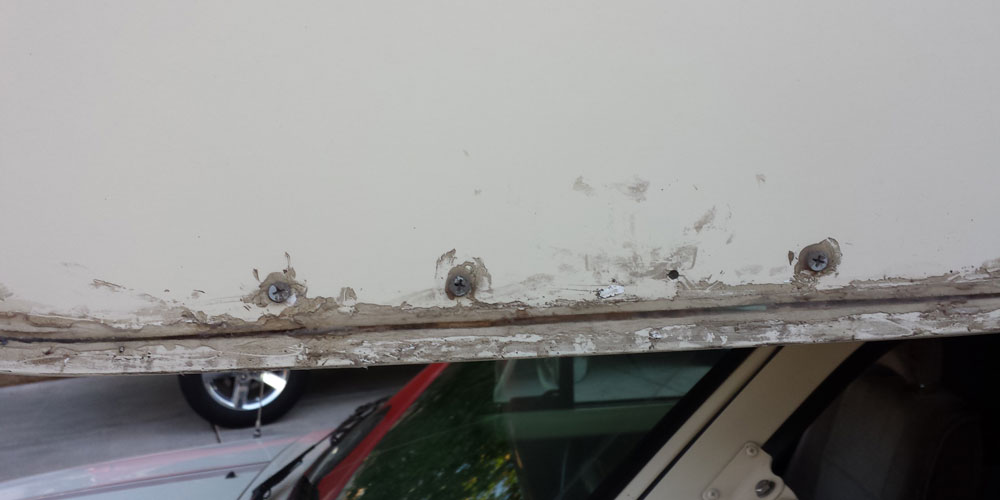
Self-Tapping Screws – Buy a box of every size from 3/4” to 2”, as the thickness of the walls vary, and you don’t want to be screwing through walls. This puppies will tap into anything, and I secured the coach to the metal frame wherever I could. I couldn’t believe that so many of the manufacturer screws were secured only by the underlying foam insulation. Whenever I ran into this, I glued some plywood into place as backing.
West System Epoxy, Thickener, and Hardener – After using multiple goops that come out of a tube of caulk, I finally found that none of it would adhere the outside fiberglass paneling to the next layer of 1/8” plywood. Do yourself a favor and buy the good stuff to begin with. This goo is pretty hard to work with, and hardens extremely fast. Work in small sections, and definitely y use 2 people for this job. One spreading the epoxy as another is mixing up new batches.
FRP (Fiber-Reinforced Plastic) – This is another yet another material I used after failing with something else. I initially tried to construct the internal shower walls fiscally the same as Winnebago had done. I cut out 1/8” plywood to fit, then tried to glue a thin, shitty plastic panel to the plywood to water-proof it. This didn’t glue very well, left bubbles, so I had to remove a wall and re-do it. With quality FRP, I didn’t have to use the plywood, as the FRP is rigid and heavy, and I glued it directly to the foam insulation. For FRP adhesive, only use Titebond Fast Grab, and use the correct trowel size. More information I learned the hard way.
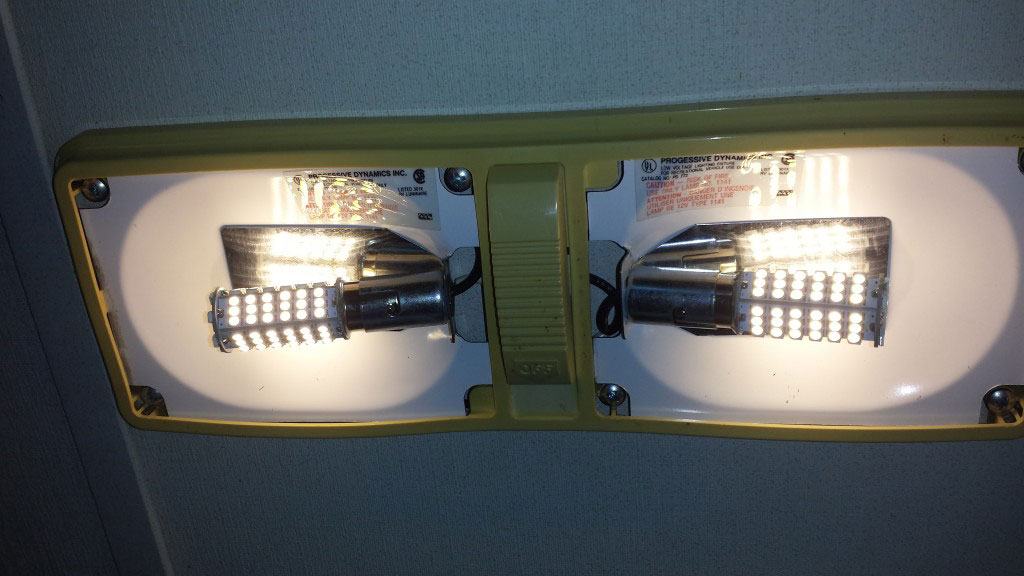
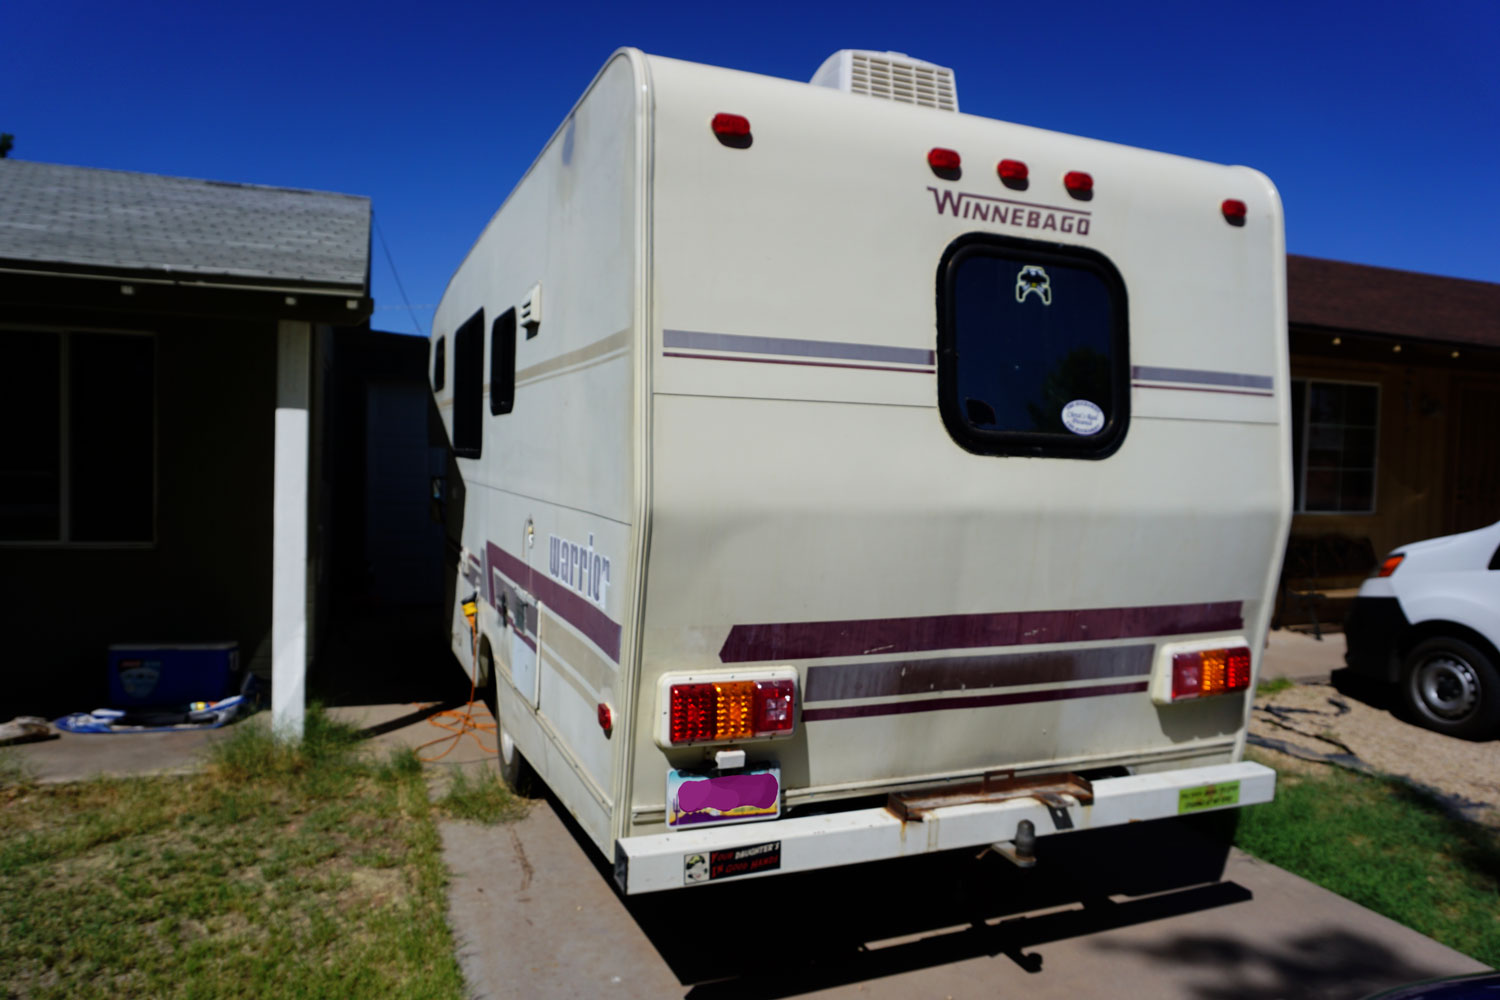
LED Lighting – I replaced every light bulb on the Winnebago Warrior with an LED. Buy them off of Amazon because their way more expensive at RV stores. I replaced all exterior marker lights, all interior 1156 bulbs, and the tail lights with LEDs. I got lucky and found the direct replacement Bargman triple-LED taillights on eBay for $80.
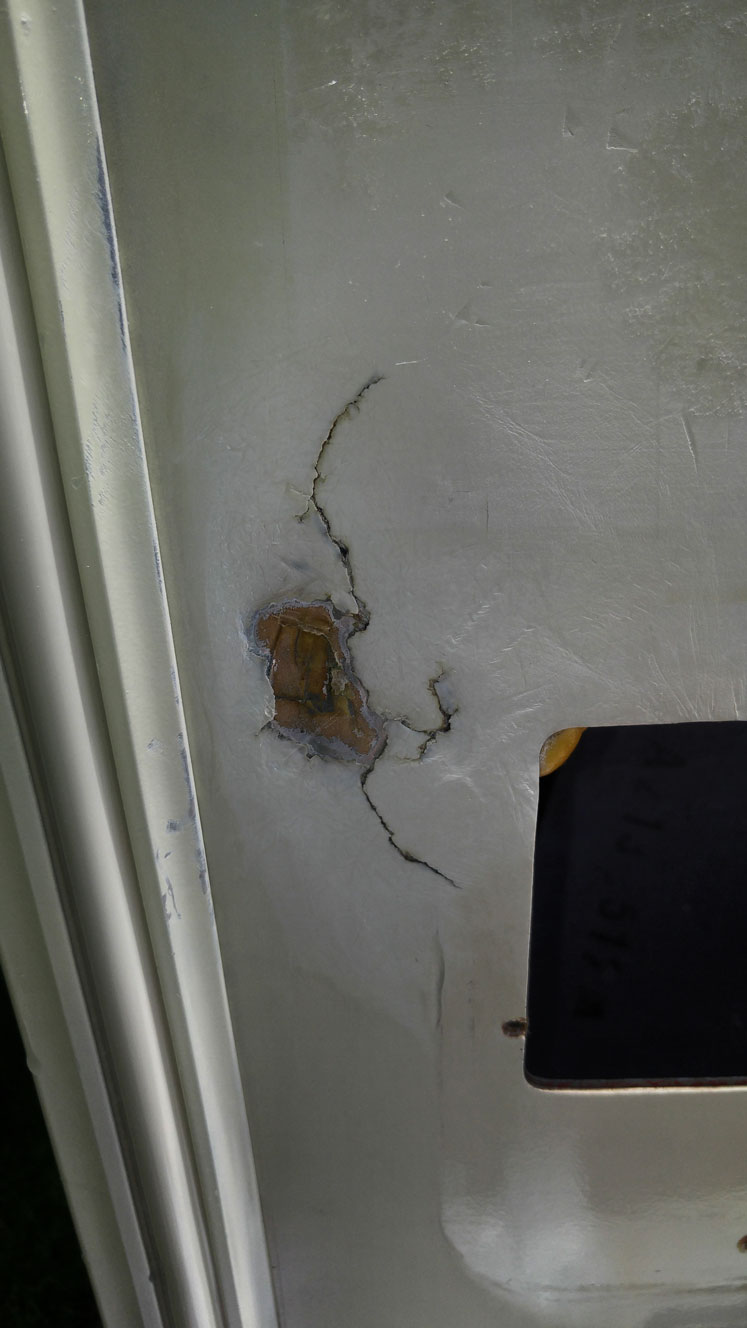
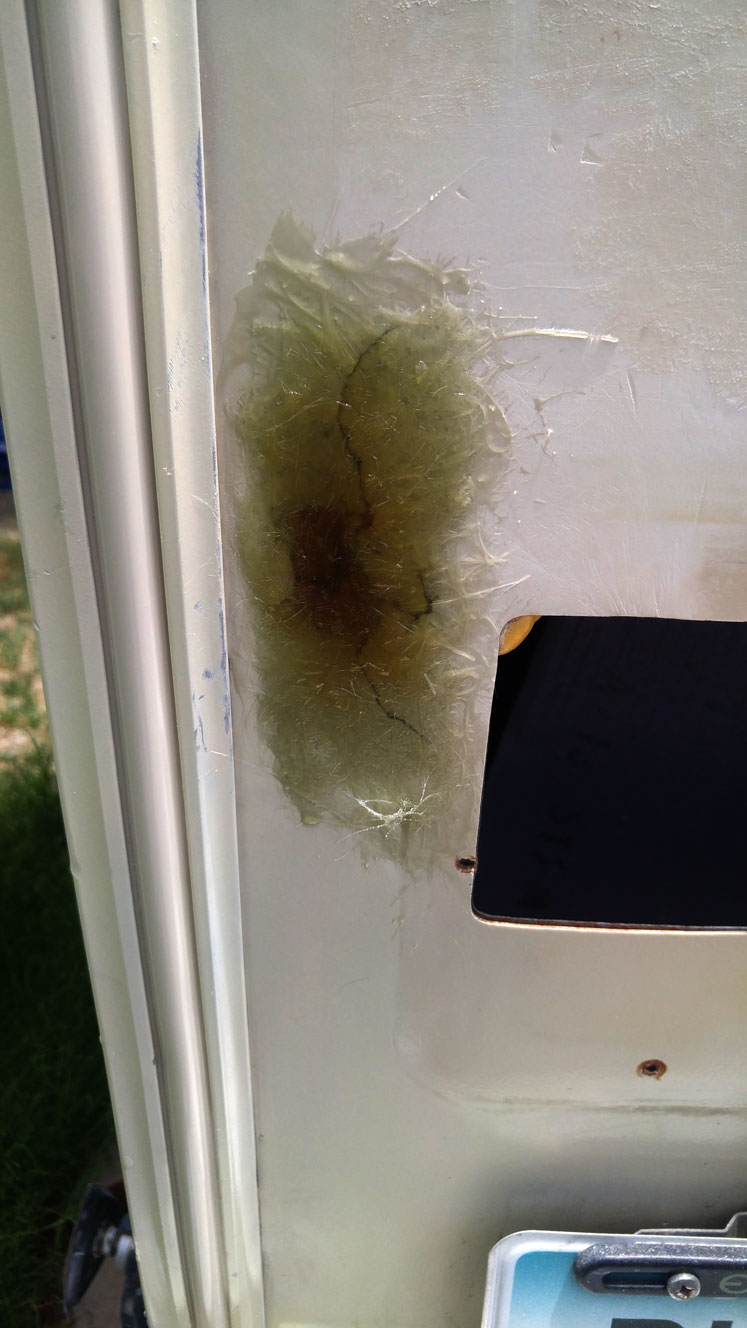
Fiberglass Kit – I used the Bondo kit, and it worked fine. This is to repair any cracks or holes in the fiberglass. Be sure to sue body filler on top of the fiberglass in order to get a smooth, sanded surface to paint over.