


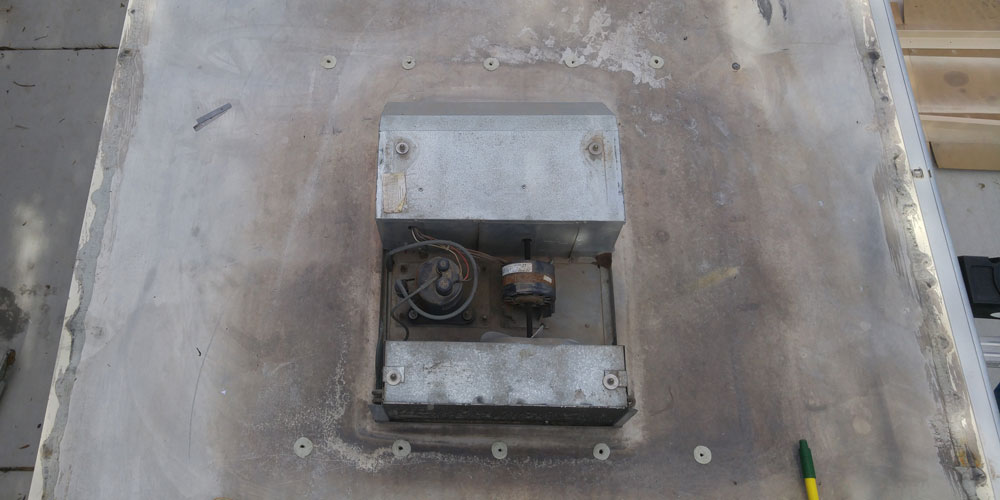
 I’m ashamed to say that it was at this point in my life where I actually considered giving up on the old Yoterhome. This is my second attempt at a fix to the issue of a saggy roof around the RV air conditioner, and thankfully, she’s still salvageable. The water pooled so high in this spot that it actually went over the a/c gasket, into the coach, and onto my lovely carpet. The first time this happened, I went with the easy fix, and inserted some small slats of 1/8″ plywood into the roof layers to raise the lip onto which the a/c sits, and replaced the gasket, in the hope that this will at least get the seal out of the water:
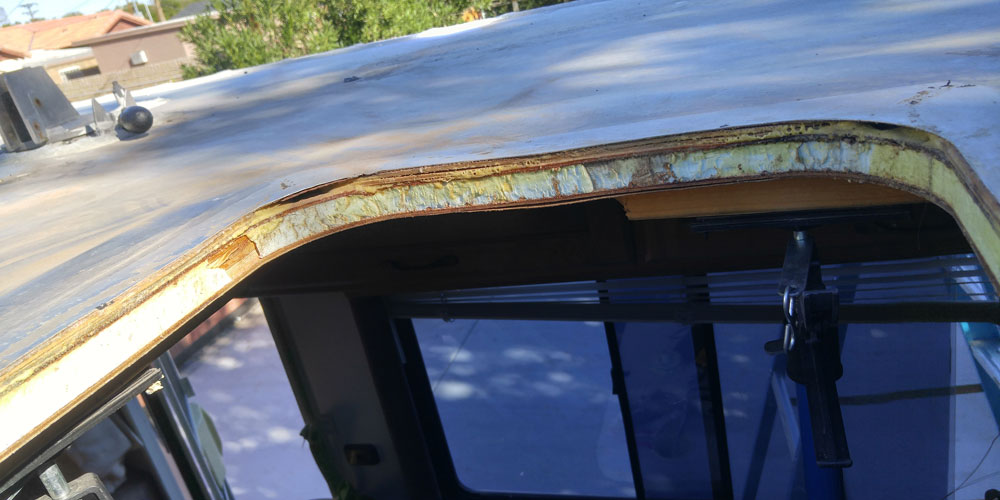
Credit to this poster on toytoamotorhome.org:
http://toyotamotorhome.org/forums/index.php?/topic/3693-my-fix-for-leaking-roof-around-ac/
Since it doesn’t rain much in Phoenix, it took another six months or so to realize that this fix was not going to suffice, and I was once again left with soggy carpet after an especially monsoony season. So, I went on the hunt for another solution short of ripping the entire roof off and replacing the sagging support beams. My roof seems to be in fairly decent shape otherwise, so I didn’t feel the need to go all in. Cue this fix found on IRV2.com:
http://www.irv2.com/forums/f50/sagging-roof-fix-165695.html
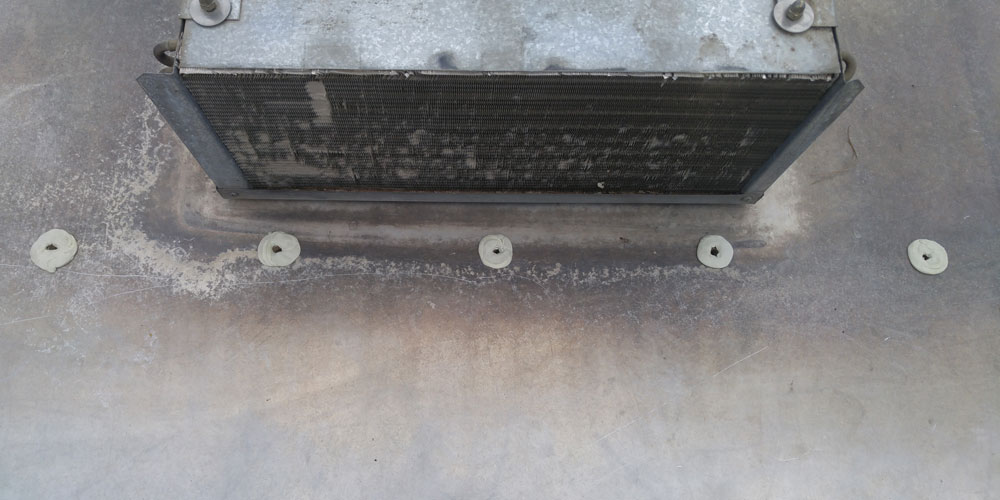
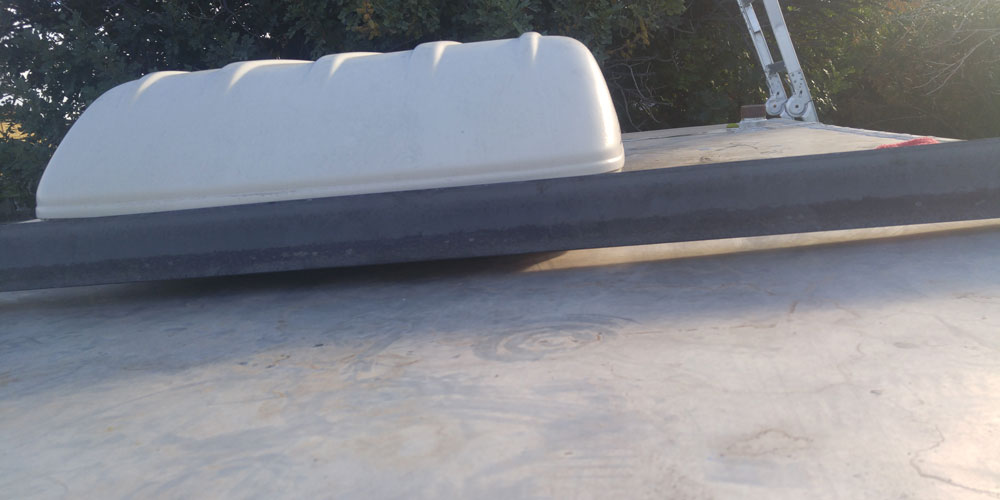
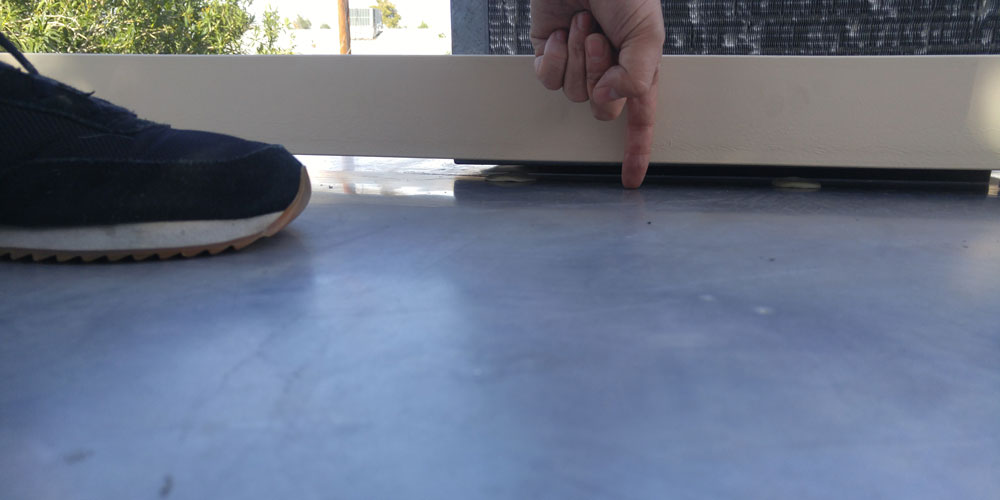
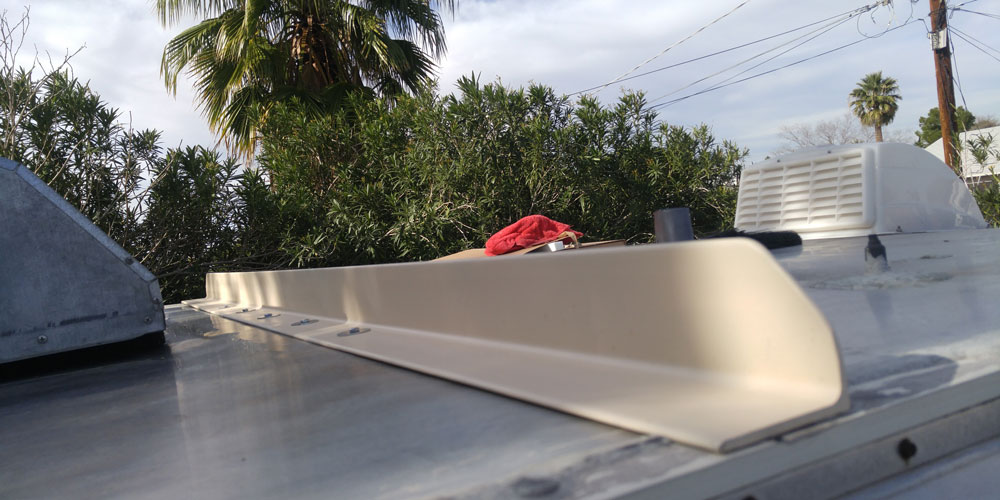
Using a variation of this method, I went and bought two 7′ pieces of 3″x3″ angle iron to use as support beams across the roof. Here’s the distance I was attempting to make up:
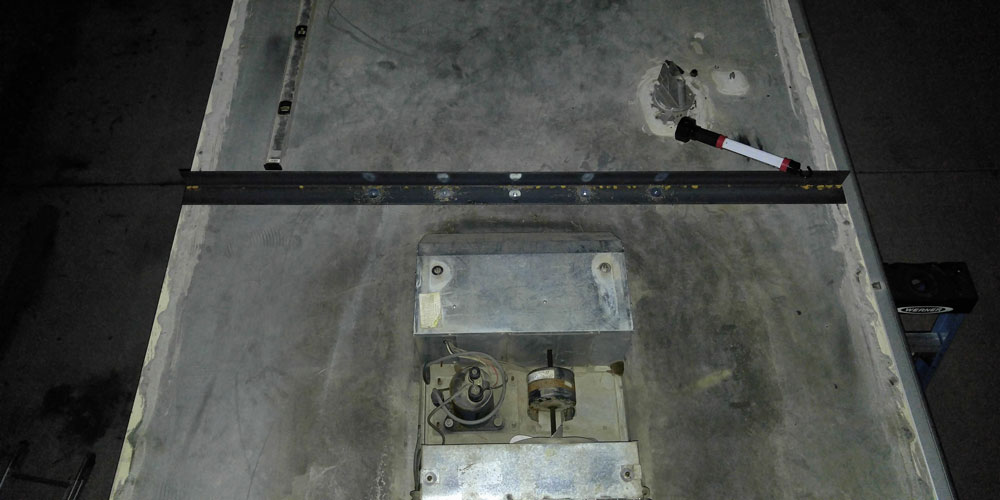
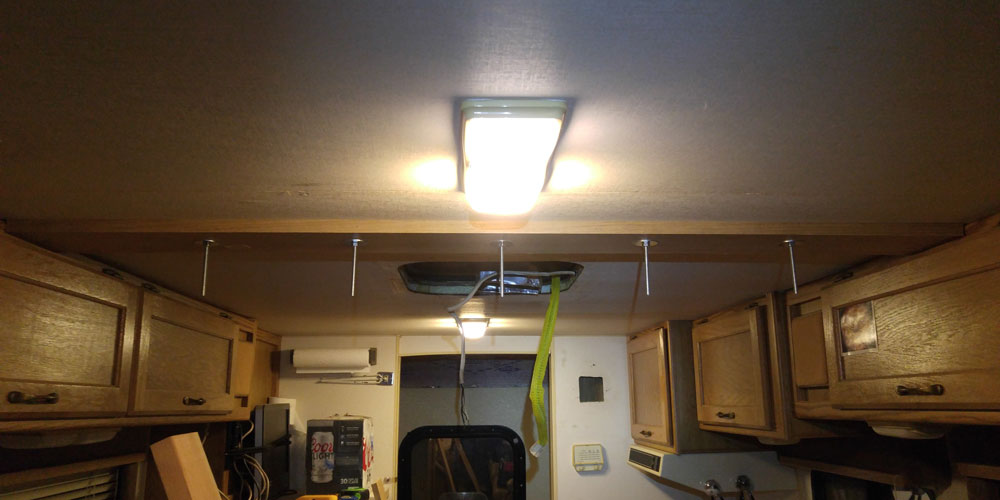
I placed the two angle irons where I wanted them to the front and rear of the a/c, then I drilled five holes in each of the supports and the roof to accommodate 1/4″ bolts and fender washers. I cut some 3/4″x5″ white oak for the inside ceiling, measured to go from cabinet to cabinet. Then I measured the enter of those boards, and drilled the 5/8″ hole there for the center bolt. Once the center bolt was bolted and holding the support in place, I went back up to the roof to drill the remaining 4 holes through each of the boards. I also used a floor jack to get the roof into approximately it’s final position so that the holes were drilled accurately:
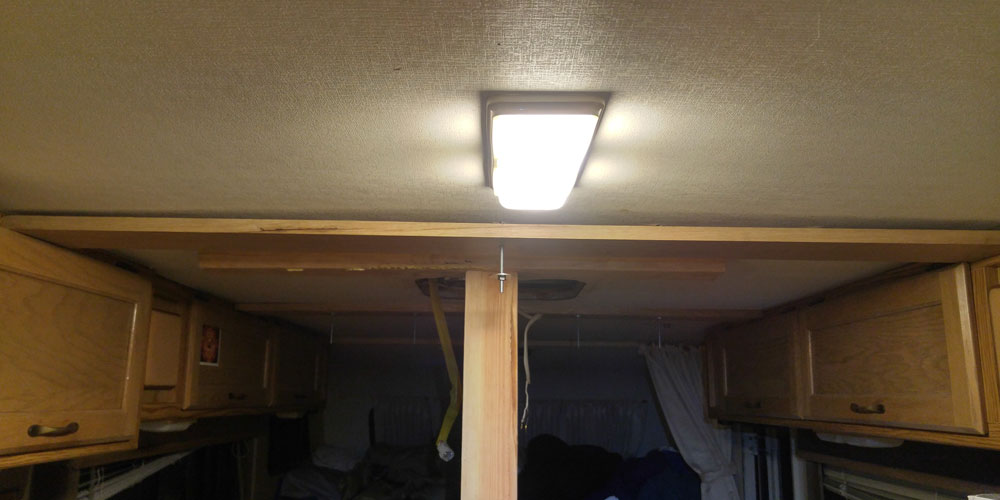
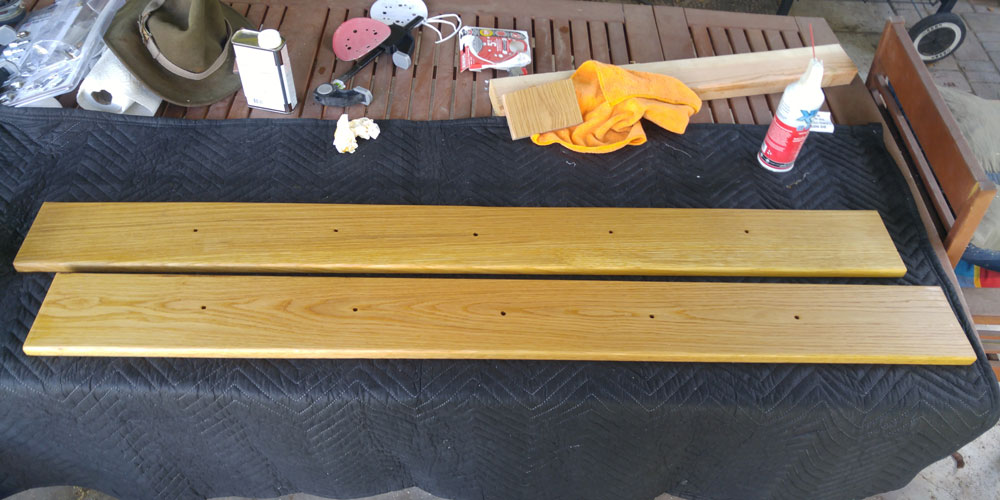
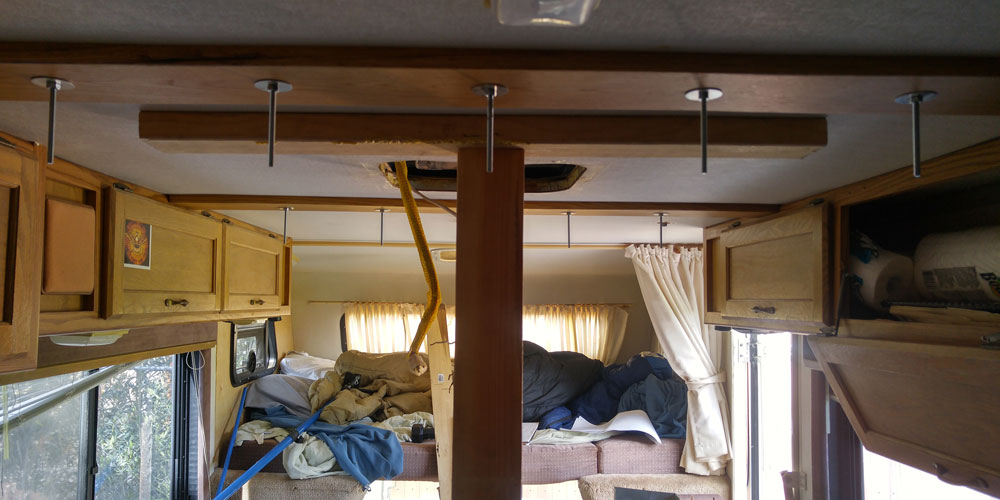
Then, after test fitting everything, I removed the angle iron supports and gave them a good coat of paint and primer. I also took down the oak supports, hit them with a 1/4″ round bevel, and gave them a coat of Danish oil (Golden Oak). After all was said and done, I’m very pleased with the results. I watched the angle iron as the jack was removed, and it looks like it didn’t bend more than an 1/8 of an inch. When looking at the inside supports, it actually has a domed appearance now as opposed to an a/c hammock!
Then of course I cut the remainder of the bolts, knowing that if those nuts were to ever come off, the ends of those bolts would disappear up into the roof. Another important step to consider is sealing the holes that are drilled through the roof. To accomplish this, I surrounded each of the holes with butyl tape: