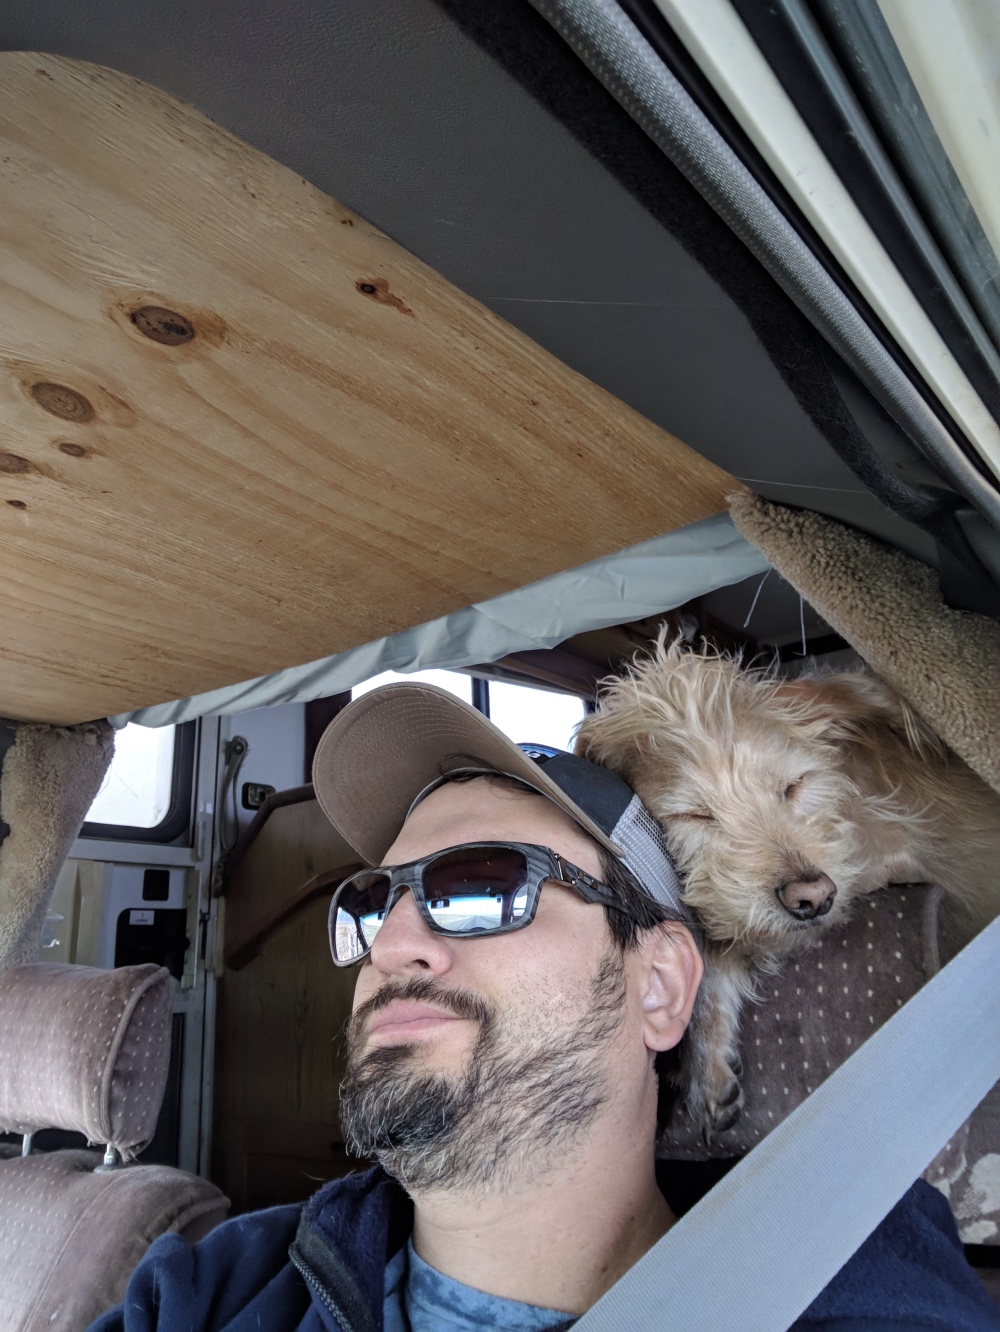
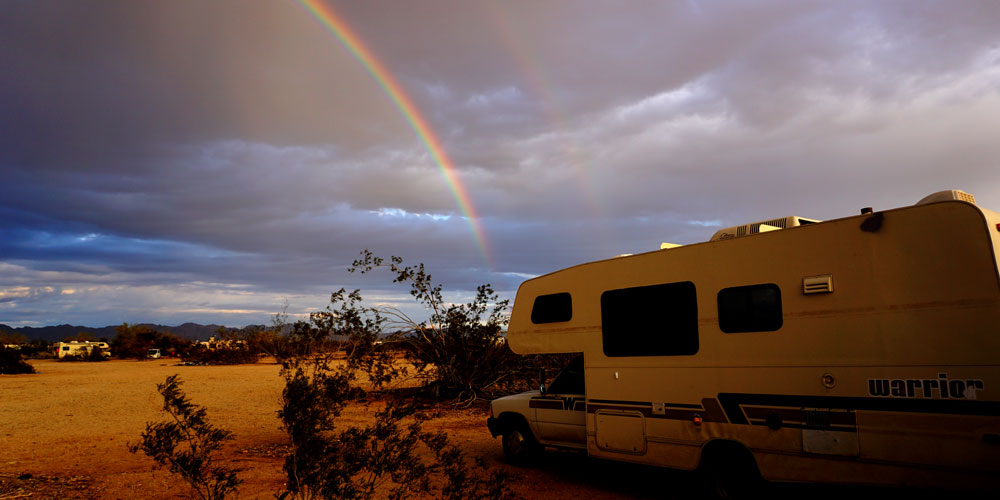
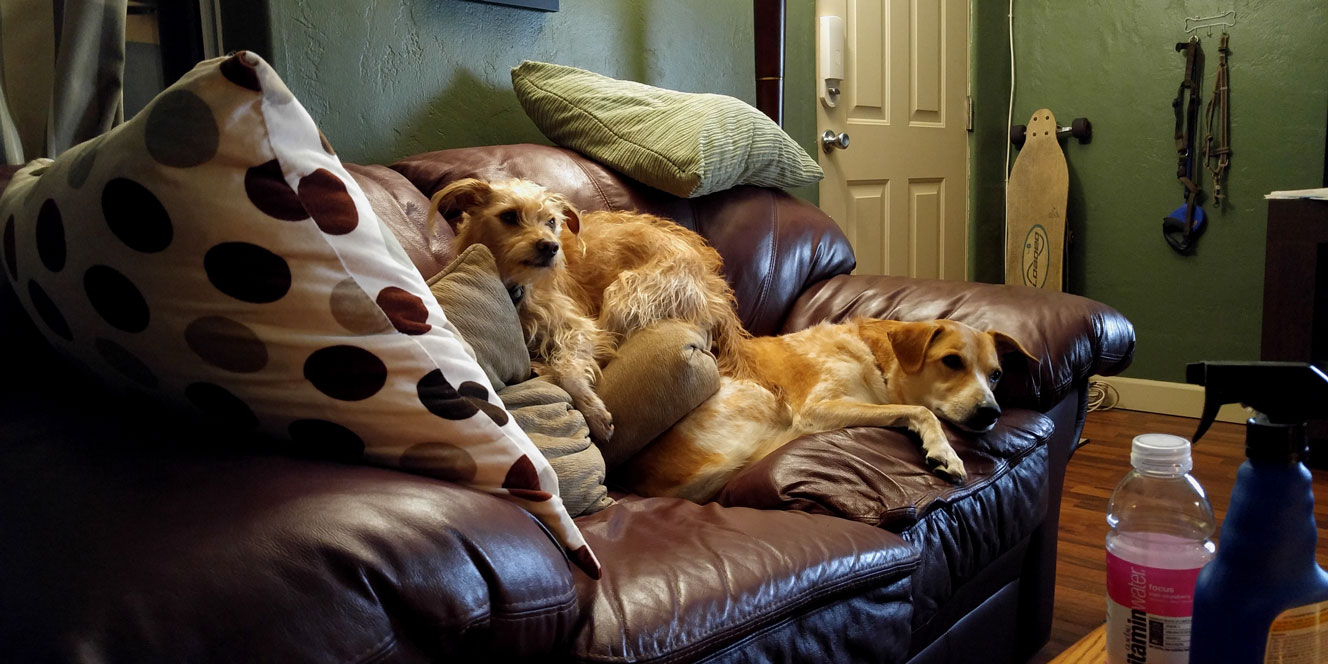
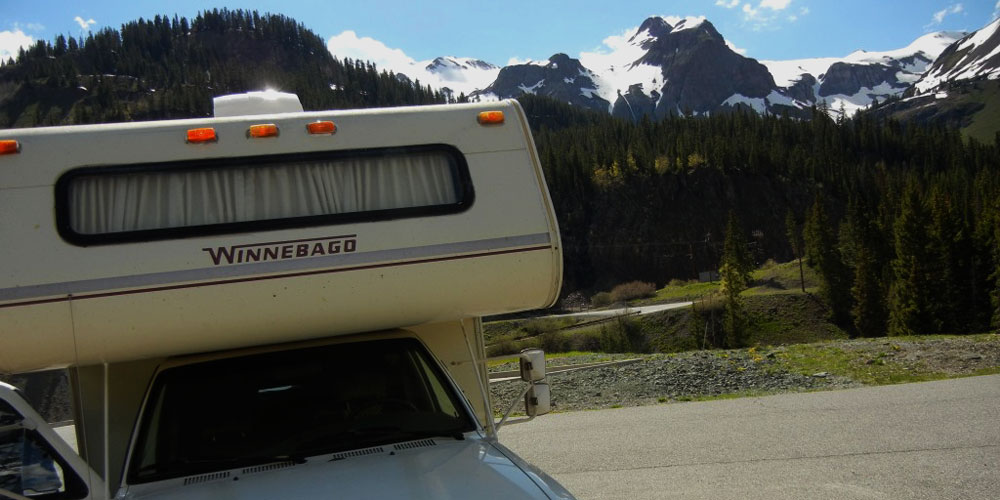
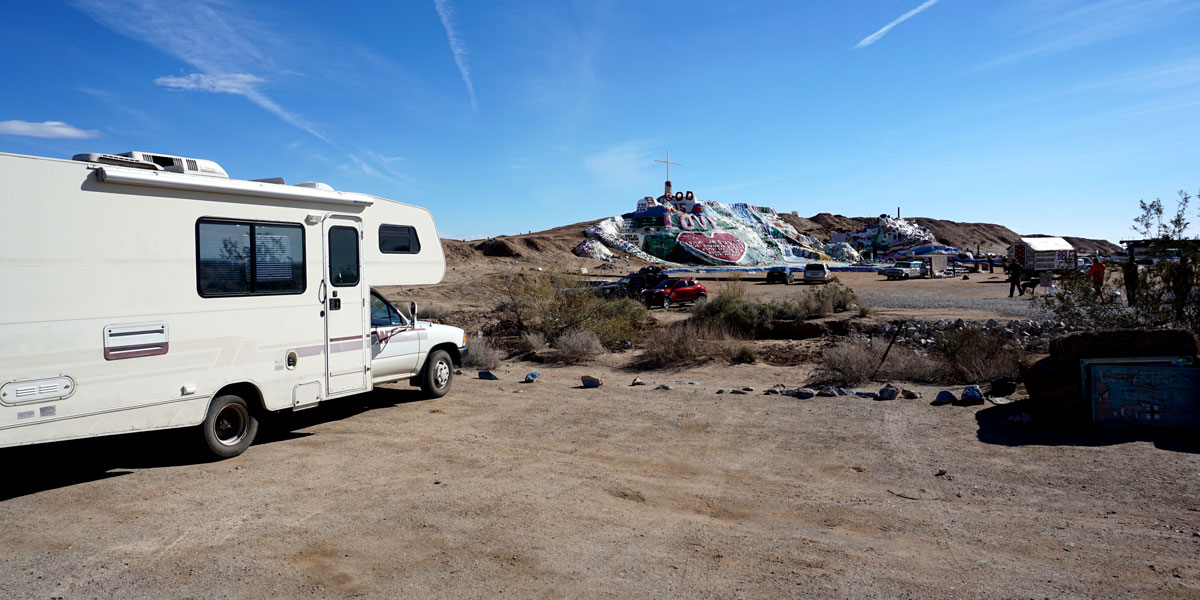
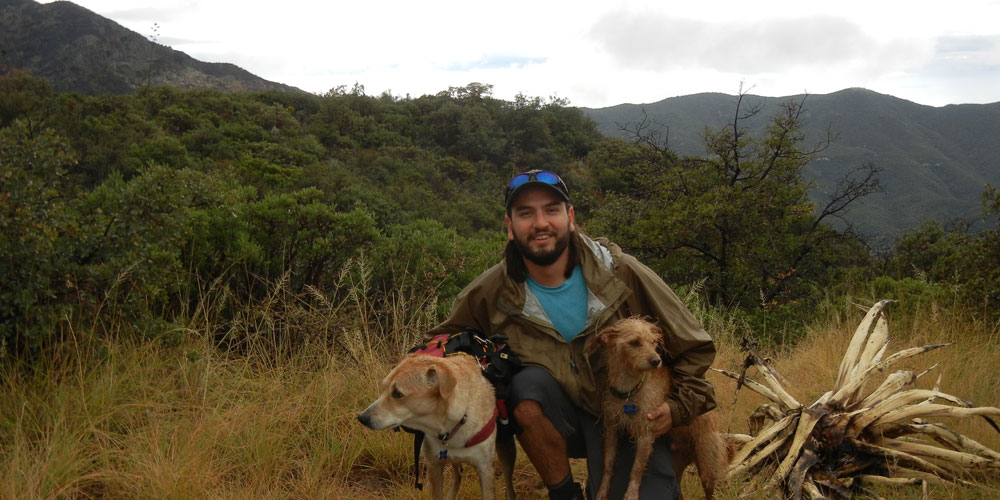
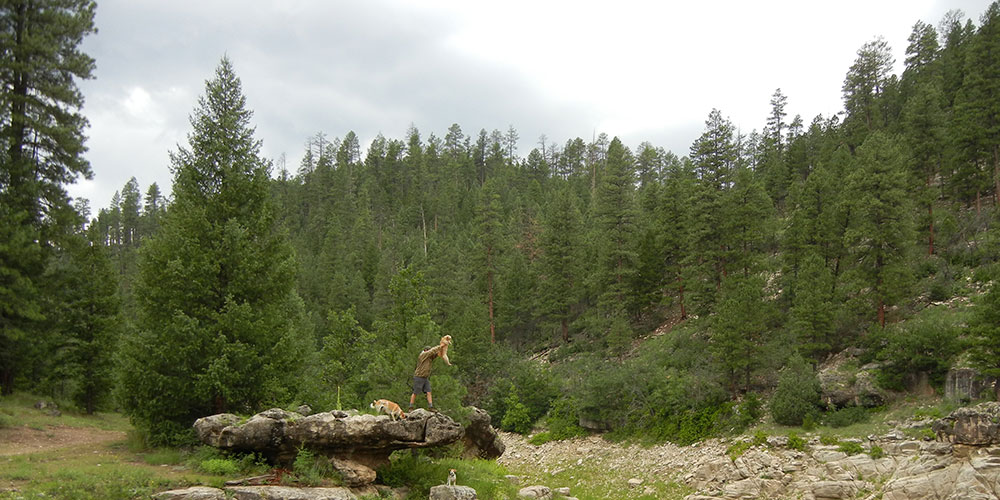
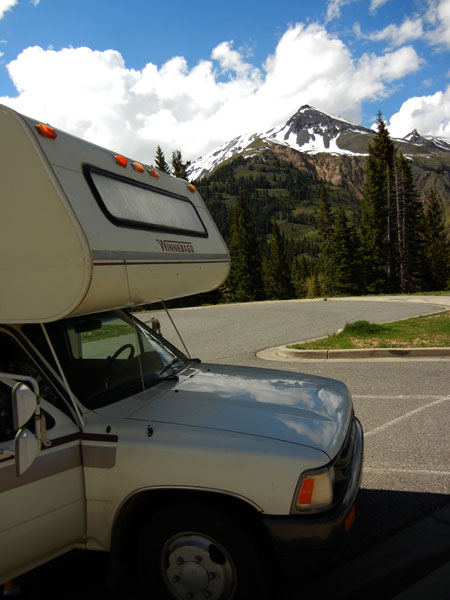
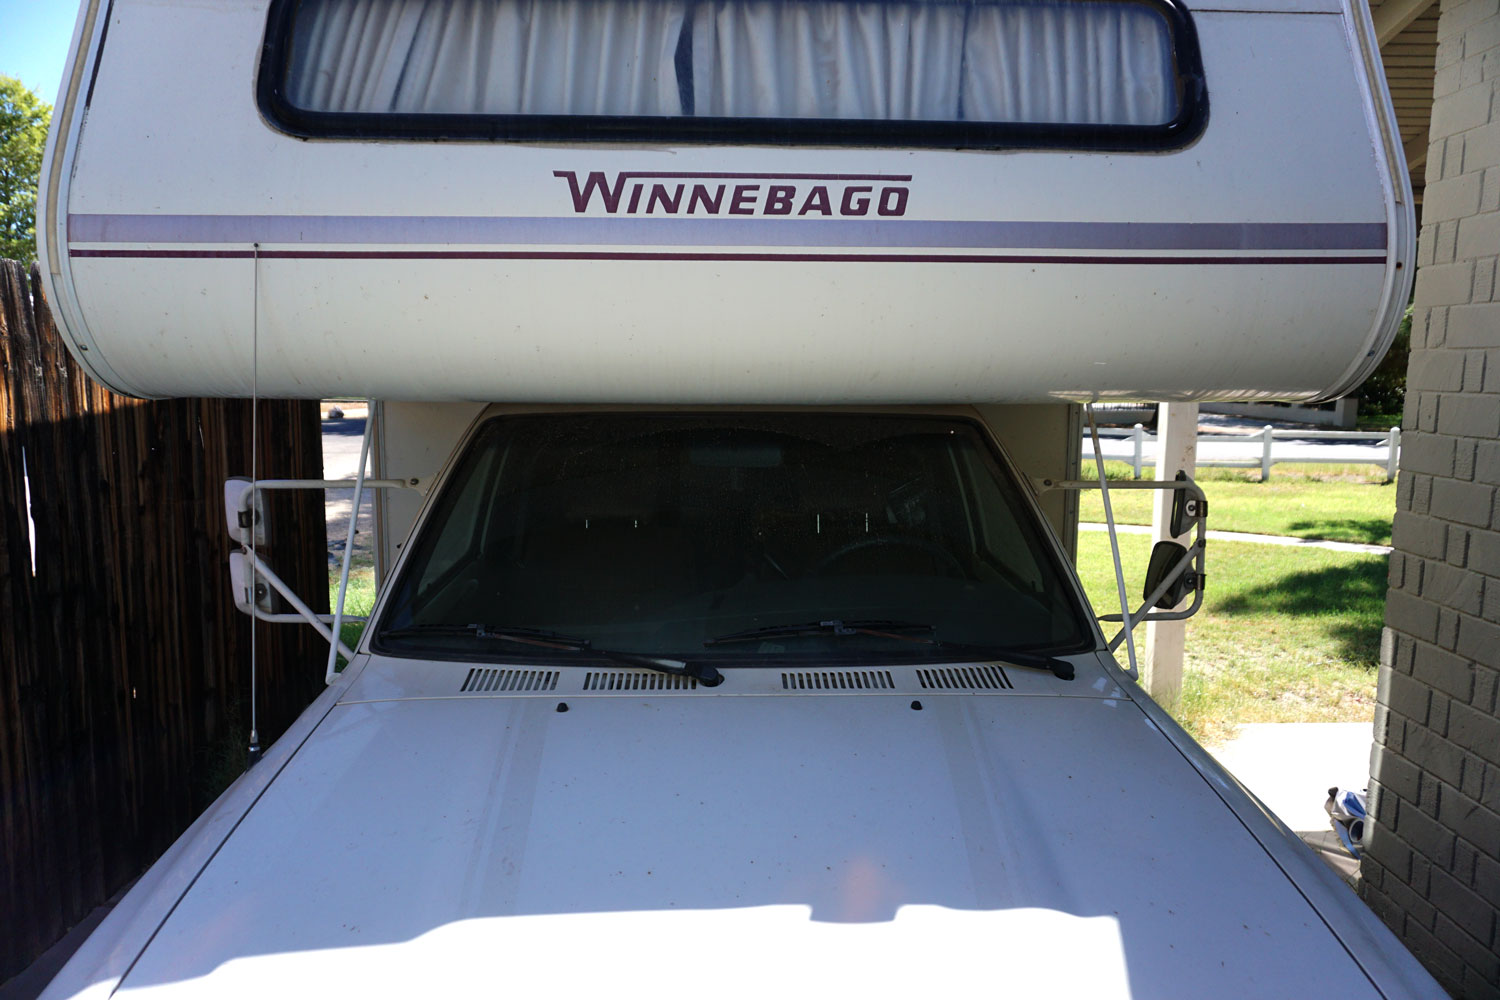
…and I haven’t accomplished much as far as Yoterhome work goes, but I have put a good amount of miles on the ole girl with no problems! When I bought my ’91 Winnebago Micro-Warrior, I figured that a year would be plenty of time to save up enough money to budget for a year on the road, get the RV cross-country road trip-ready, and get rid of most of my belongings, other than what I could fit in a 21′ RV with two dogs… wishful thinking I suppose. Well, over two years have now come and gone in barely a blink, and although I’ve made good progress on the ole Yote and successfully transitioned into unemployment and living in my parents’ house without driving them completely insane, I’m not quite where I thought I’d be but I’m okay with that. I got extremely motivated a year ago, mostly due to despising my job at the time and thinking that I needed an immediate way out to salvage my sanity. I’m happy to say that I was able to stick it out in my career for a year longer than I anticipated by seeing the bright side of going into a job that I was not excited to do every day, namely the people I worked with who will be sorely missed. I wasn’t so miserable once I realized that I go into the office every day mostly just to hang out with my friends, and get some work done in between. I’m also sitting in a much better place financially than I was a year ago. Alas, once I finally set a date for my early “retirement”, it was like pulling teeth to get my last bit of work done on time. For the sake of those engineers kind (or unlucky) enough to inherit my last and final designs, I hope I didn’t screw them up too much… thanks guys!
So, I haven’t put much work into my adventure plans, but that’s fine, I’m taking my time and enjoying unemployment. Now that I don’t have a job, you would think that I would have picked it up on the progress, but I’m still in recovery from working too damn much. I’m fairly proud of what I have been able to accomplish, here is a running list of what I’ve done to the adventuremobile, in the order I’ve gotten them done.
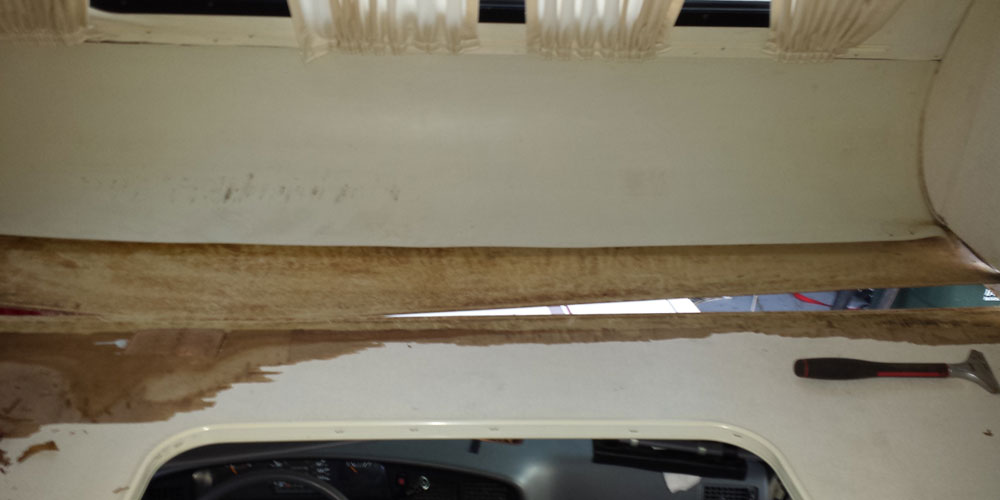
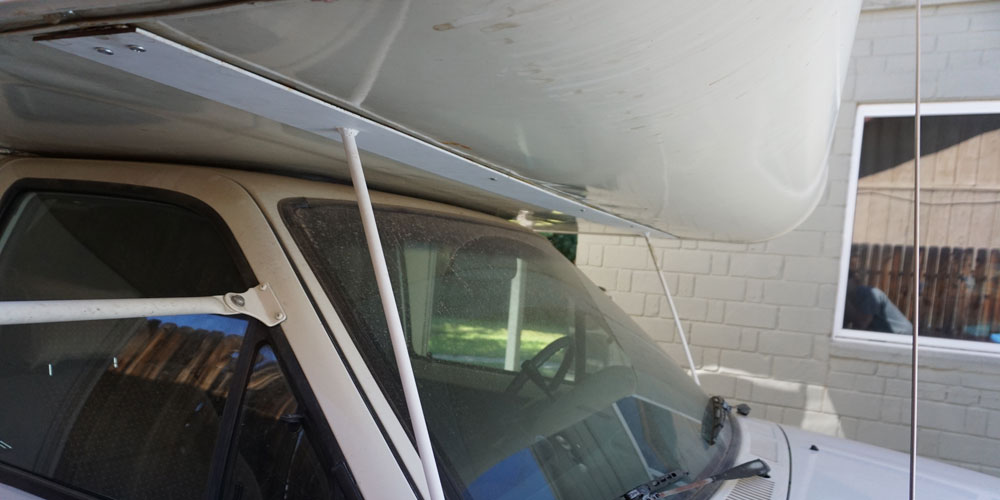
- Overcab bed rebuild and outside seam sealing
- Overcab bed supports to reinforce the aforementioned seams that failed
- New airbag suspension on the rear axle.
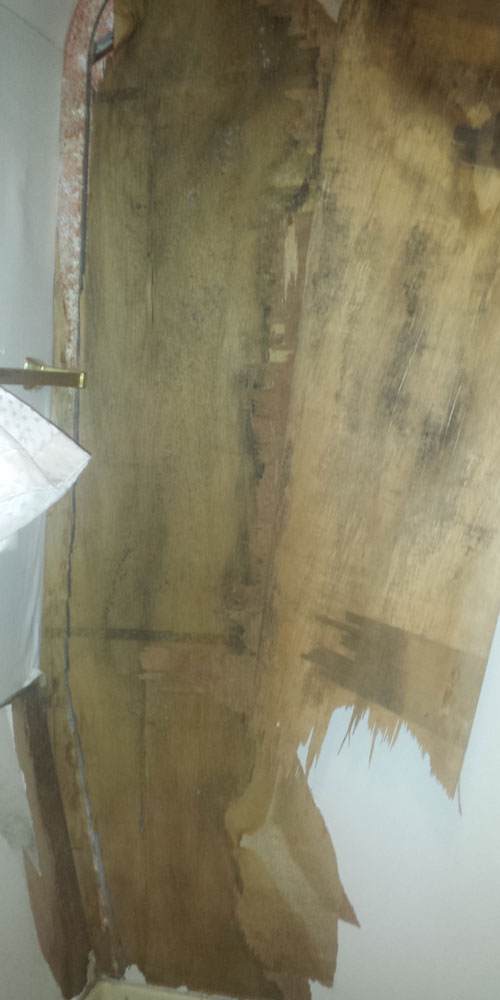
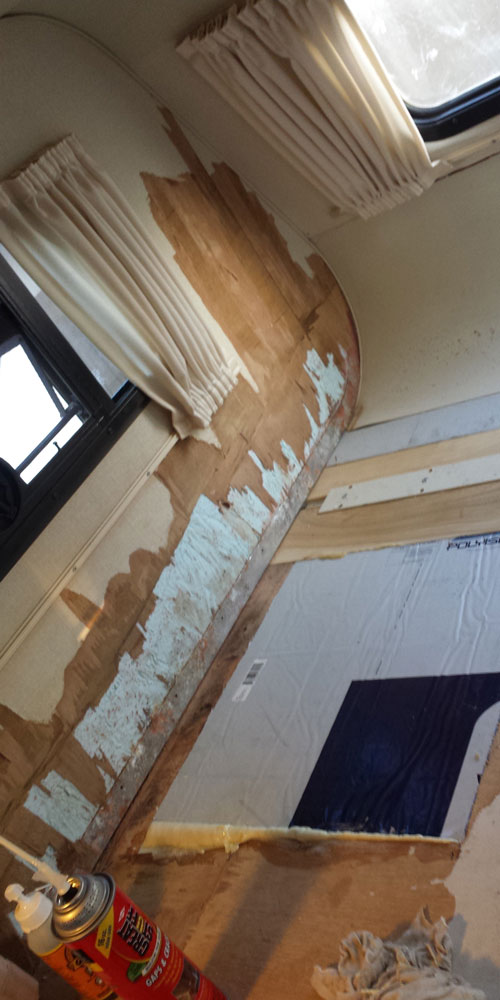
- Shower wall demolition and rebuild.
- Bathroom sink and cabinet demolition.
- Closet demolition.
- Side-skirt and fender dirt dump and re-build.
- Replaced all interior lighting with LEDs
- Replaced all exterior lighting with LEDs
- Re-sealed both exterior rear seams.
- Replaced tail lights with LEDs.
- Installed new Python alarm with remote start.
- Installed new Pumpkin Android deck.
- Installed Rockford Fosgate Amp, 6 1/2″ component, and 4″ dash speakers.
- Installed new motorized window rollers.
- Fixed muffler leaks
- Installed new Fiberglass wall panelling (FRP) and insulation in the shower/ bathroom/ closet area in the rear.
- Installed 2 new relays under the hood. One for the rear coach battery, and one for a new fuse panel.
- Re-sealed roof seams.
- Fixed multiple cracks in the exterior fiberglass panelling.
- Installed new electric radiator fan.
- Replaced the timing belt, water pump, alternator, intake manifold gaskets, all belts and radiator hoses, vacuum lines, spark plugs, spark plug wires, and distributor cap.
- Replaced toilet.
- Replaced the low-point drain valves and plumbing.
- Installed backup camera.
- Tried fixing coach AC leak by using plywood shims and replacing the gasket.
- FIXED the damn coach AC leak by installing 2″ angle iron cross-beams on the roof
- Ripped out the 26 year-old carpet and installed vinyl plank flooring.
- Upgraded the R12 air conditioning to R134A.
- Replaced the ABS and valves for the grey and black water poopy dump plumbing.
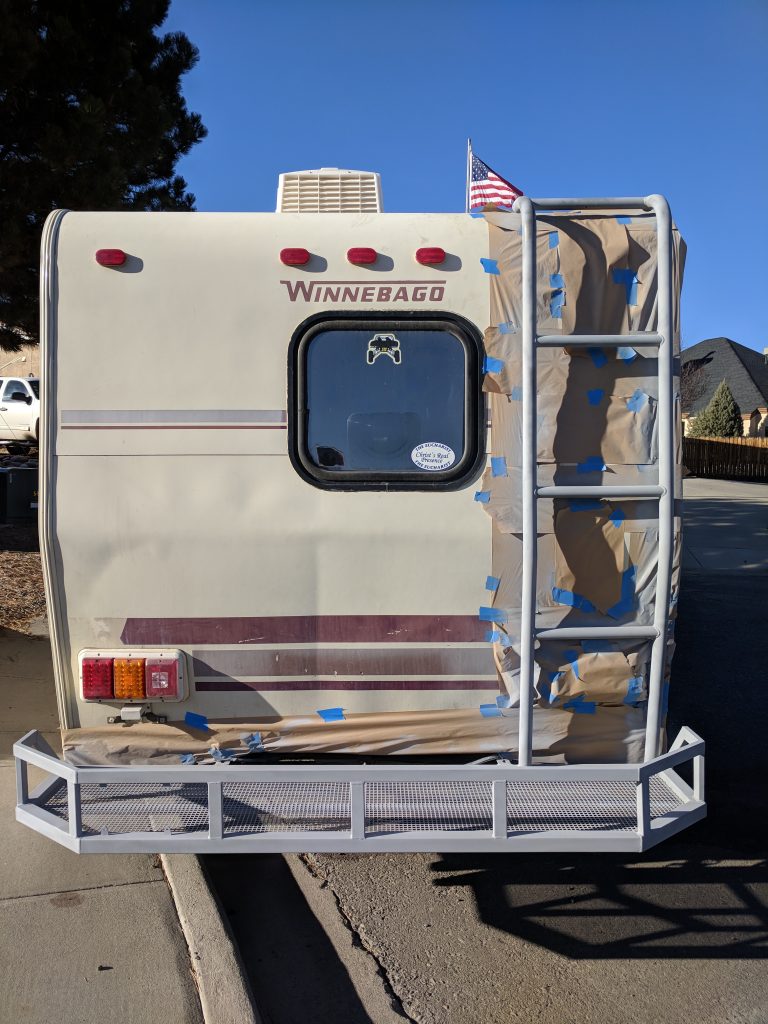
- Fabricated new bumper basket. Thanks 1ToyHero!! https://www.instagram.com/1toyhero/
- Fabricated new ladder. Thanks 1ToyHero!! https://www.instagram.com/1toyhero/
- Removed and patched old TV antenna.
- Ran wiring for solar panels and installed charge controller.
- Replaced 25-year old, Barbara-infused mattress with an Amazon special 5″ foam mattress.
- Primed ladder and bumper.
Damn, now that I’ve written it all down, it doesn’t seem so bad for 2 years worth of leisurely upgrades and repairs. I am currently painting the bumper and ladder, so this list is current as of today. Somehow this unemployment thing hasn’t freed up a bunch of time, but my fun to lame ratio has absolutely increased, so I think I’m heading in the right direction.

