Tag Archives: Winnebago micro-warror

2 Months Into Retirement

IMG_20180117_152258

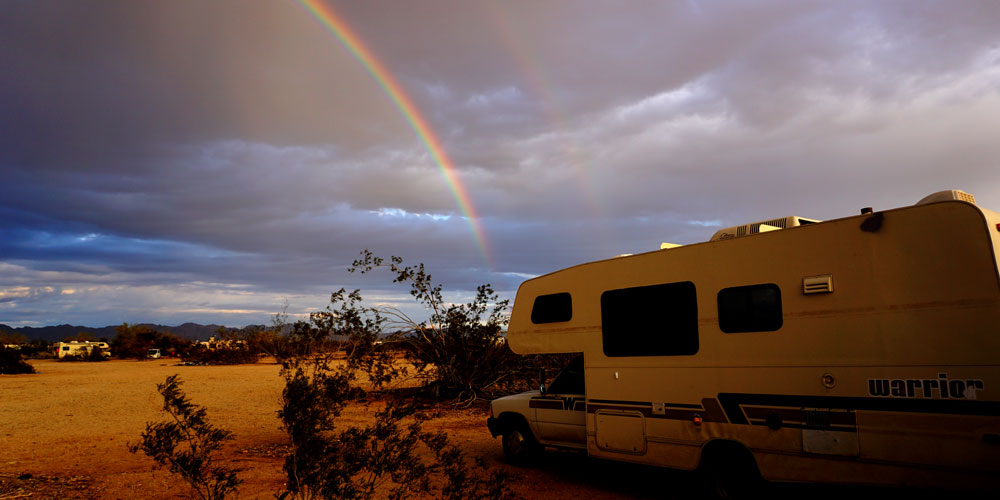
…and I haven’t accomplished much as far as Yoterhome work goes, but I have put a good amount of miles on the ole girl with no problems!  When I bought my ’91 Winnebago Micro-Warrior, I figured that a year would be plenty of time to save up enough money to budget for a year on the road, get the RV cross-country road trip-ready, and get rid of most of my belongings, other than what I could fit in a 21′ RV with two dogs… wishful thinking I suppose.  Well, over two years have now come and gone in barely a blink, and although I’ve made good progress on the ole Yote and successfully transitioned into unemployment and living in my parents’ house without driving them completely insane, I’m not quite where I thought I’d be but I’m okay with that.  I got extremely motivated a year ago, mostly due to despising my job at the time and thinking that I needed an immediate way out to salvage my sanity.  I’m happy to say that I was able to stick it out in my career for a year longer than I anticipated by seeing the bright side of going into a job that I was not excited to do every day, namely the people I worked with who will be sorely missed.  I wasn’t  so miserable once I realized that I go into the office every day mostly just to hang out with my friends, and get some work done in between.  I’m also sitting in a much better place financially than I was a year ago.  Alas, once I finally set a date for my early “retirement”, it was like pulling teeth to get my last bit of work done on time.  For the sake of those engineers kind (or unlucky) enough to inherit my last and final designs, I hope I didn’t screw them up too much… thanks guys!

So, I haven’t put much work into my adventure plans, but that’s fine, I’m taking my time and enjoying unemployment.  Now that I don’t have a job, you would think that I would have picked it up on the progress, but I’m still in recovery from working too damn much.  I’m fairly proud of what I have been able to accomplish, here is a running list of what I’ve done to the adventuremobile, in the order I’ve gotten them done.

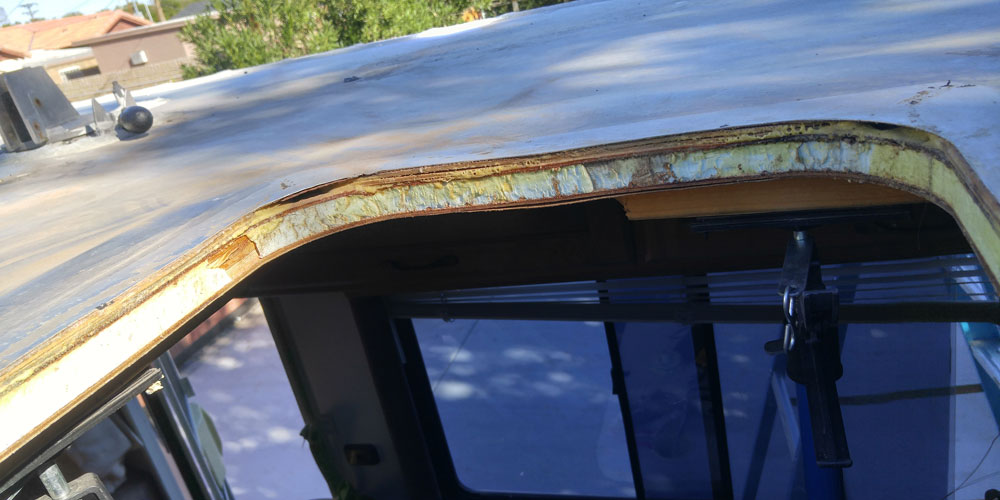
  1. Overcab bed rebuild and outside seam sealing
  2. Overcab bed supports to reinforce the aforementioned seams that failed
  3. New airbag suspension on the rear axle.
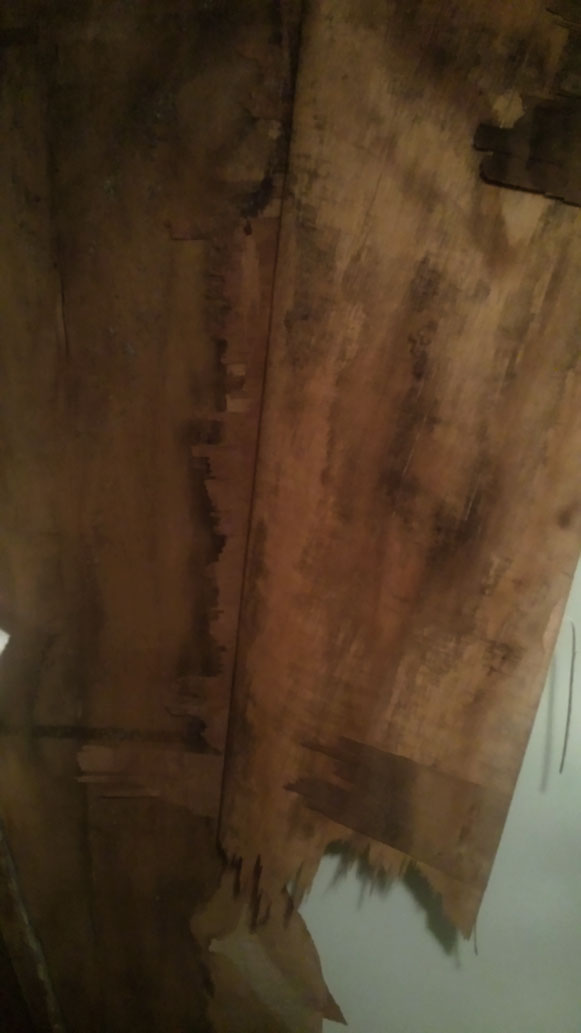
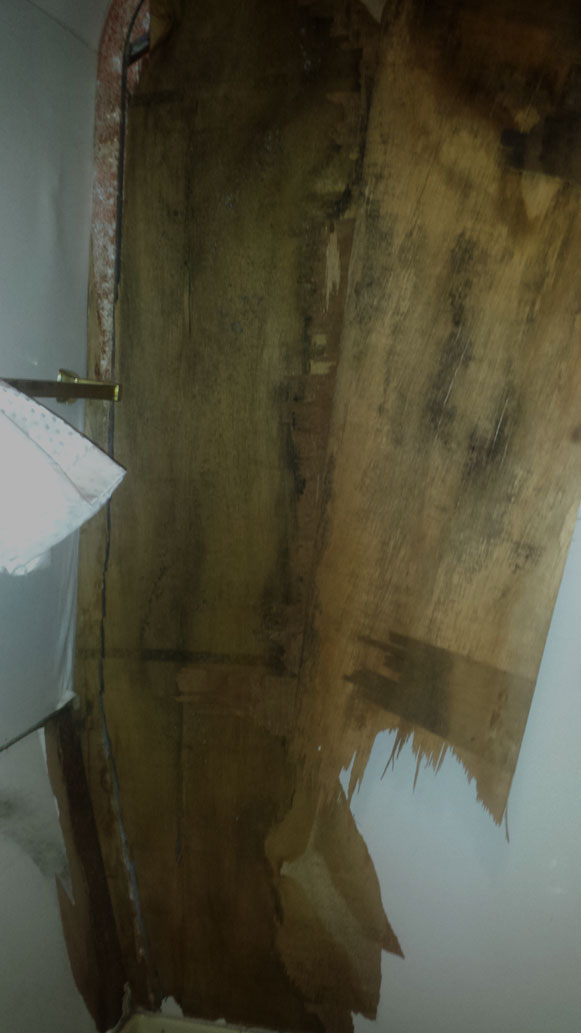
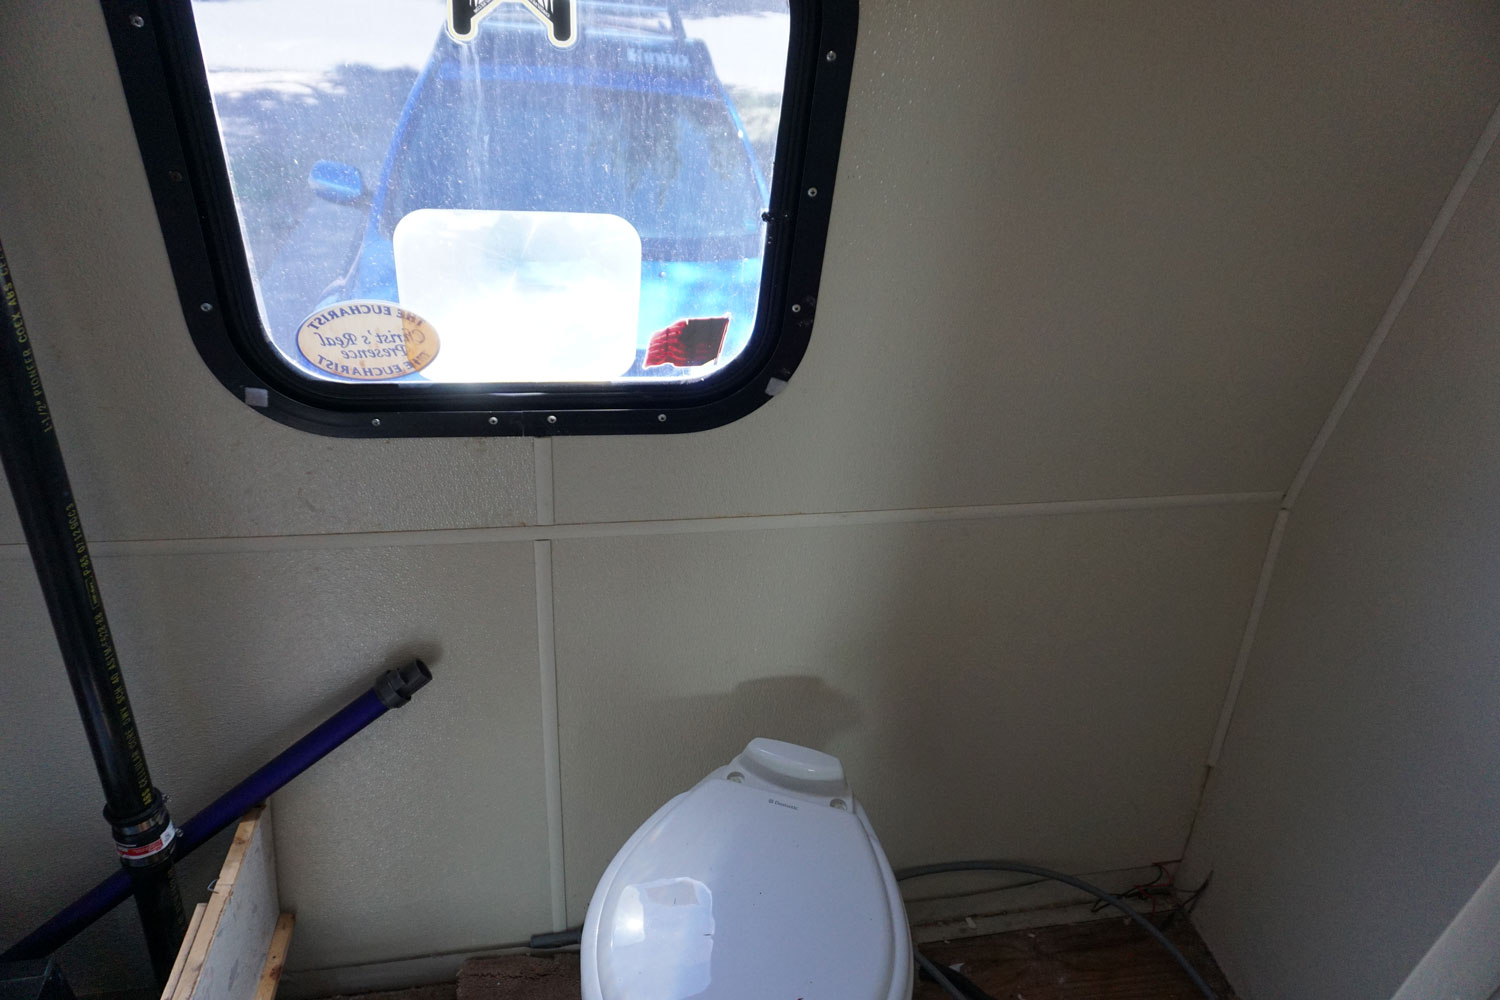
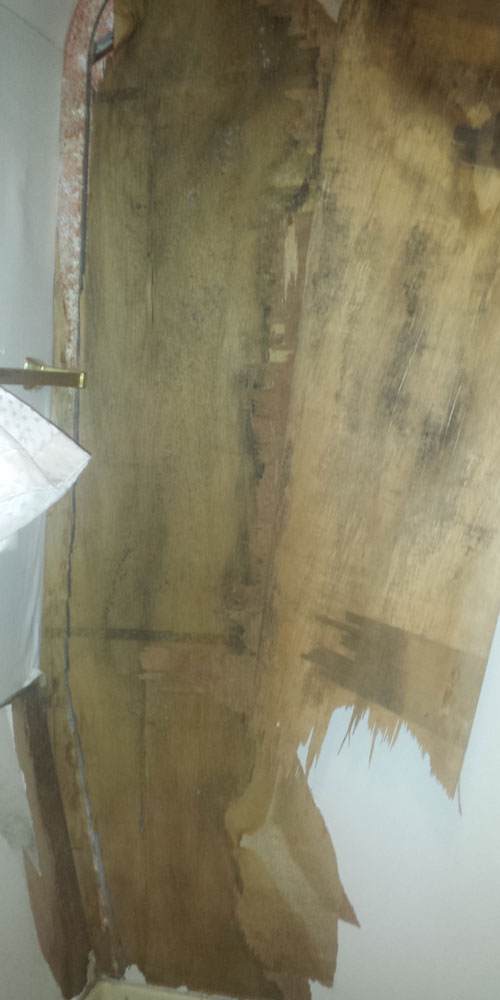
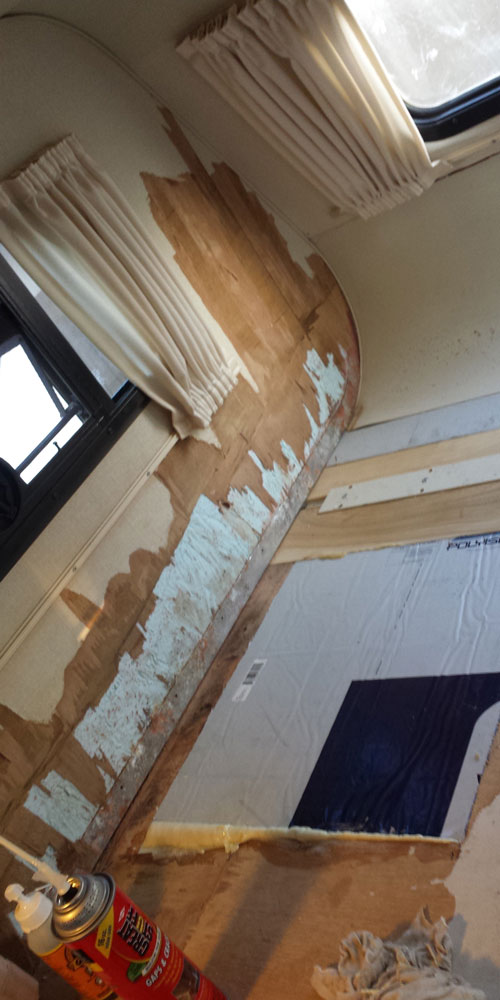
  4. Shower wall demolition and rebuild.
  5. Bathroom sink and cabinet demolition.
  6. Closet demolition.
  7. Side-skirt and fender dirt dump and re-build.
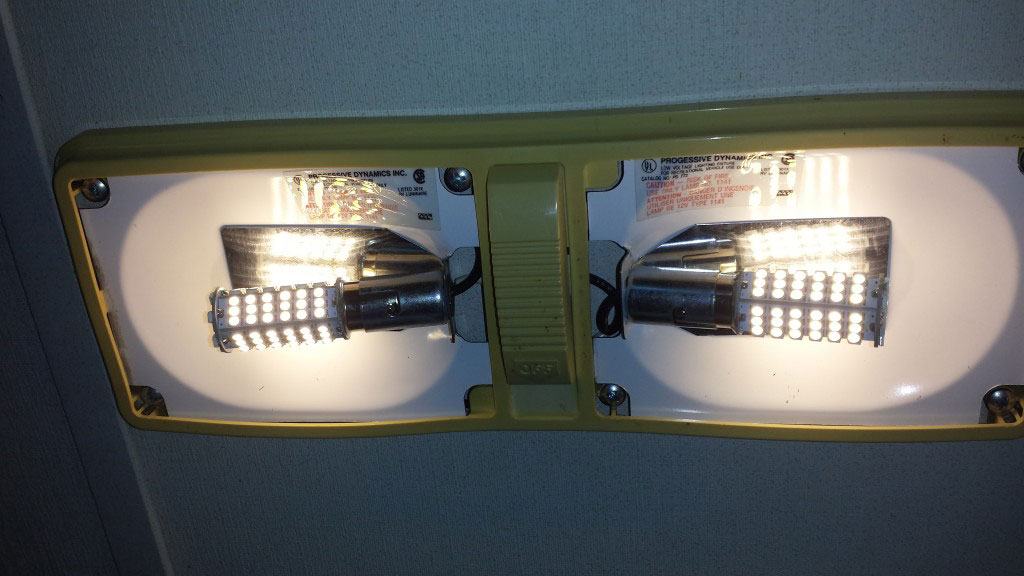
  8. Replaced all interior lighting with LEDs
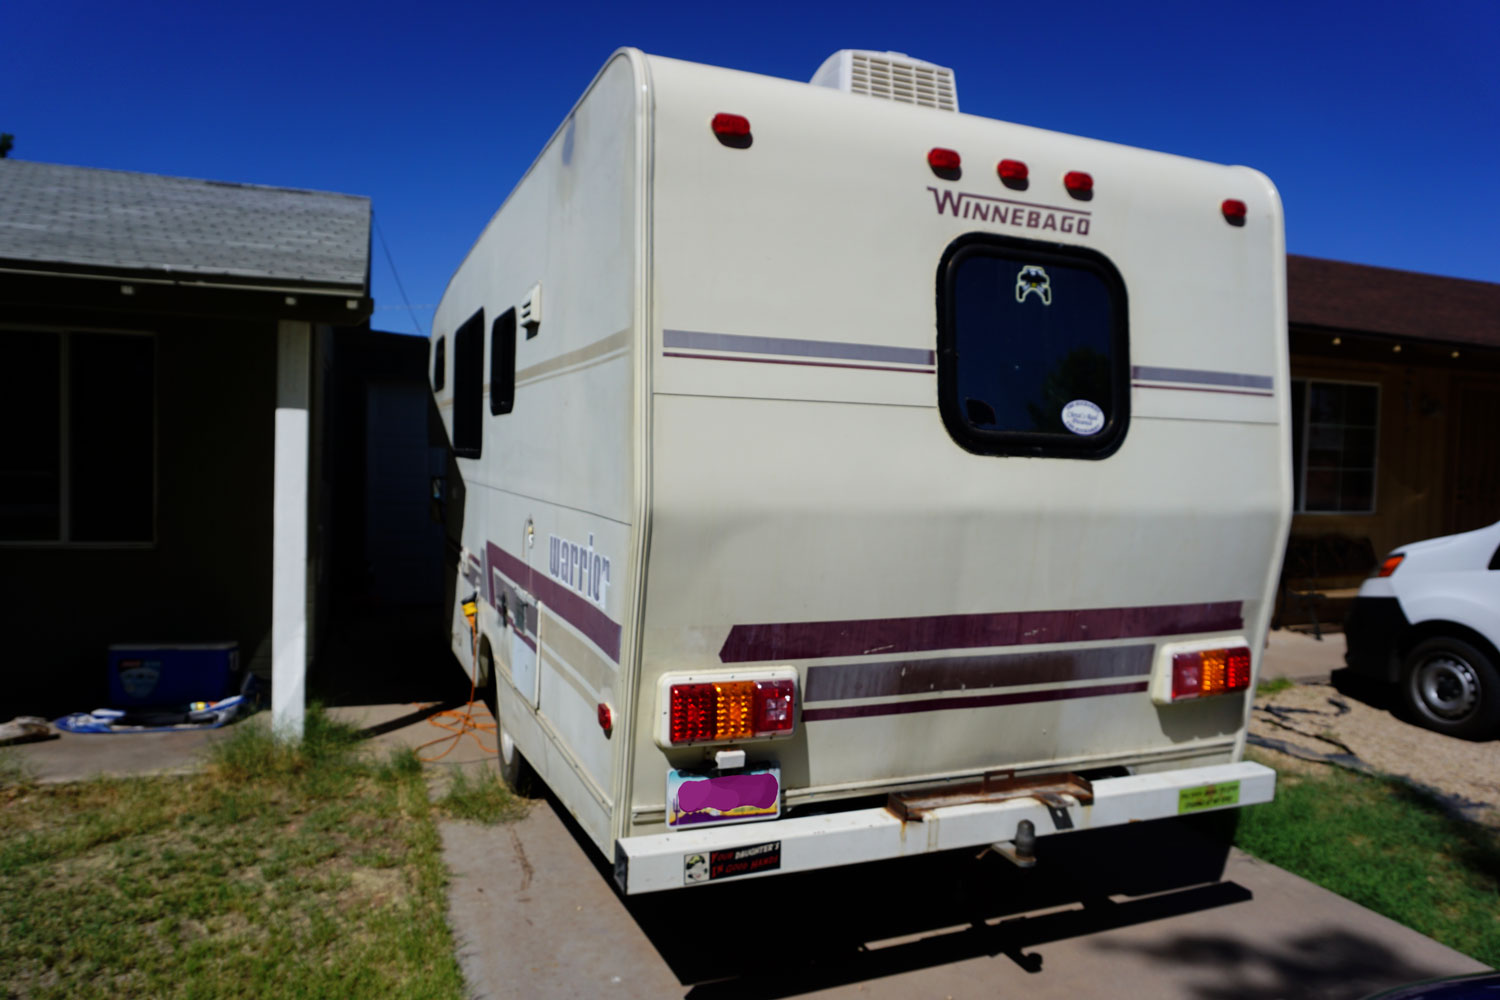
  9. Replaced all exterior lighting with LEDs
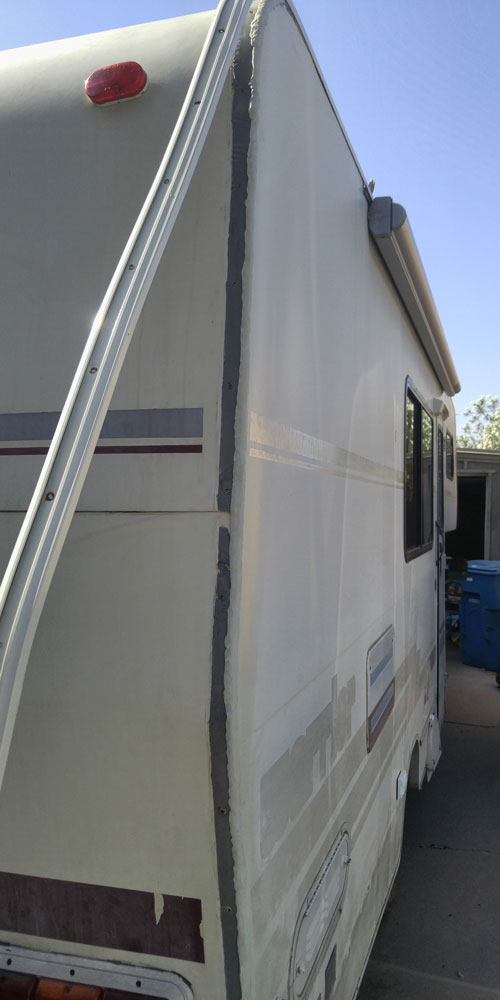
  10. Re-sealed both exterior rear seams.
  11. Replaced tail lights with LEDs.
  12. Installed new Python alarm with remote start.
  13. Installed new Pumpkin Android deck.
  14. Installed Rockford Fosgate Amp, 6 1/2″ component, and 4″ dash speakers.
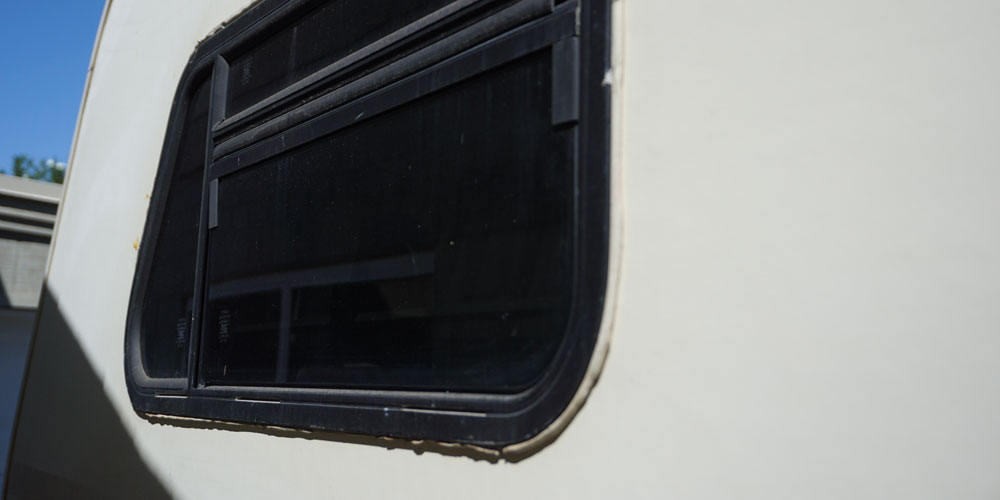
  15. Installed new motorized window rollers.
  16. Fixed muffler leaks
  17. Installed new Fiberglass wall panelling (FRP) and insulation in the shower/ bathroom/ closet area in the rear.
  18. Installed 2 new relays under the hood.  One for the rear coach battery, and one for a new fuse panel.
  19. Re-sealed roof seams.
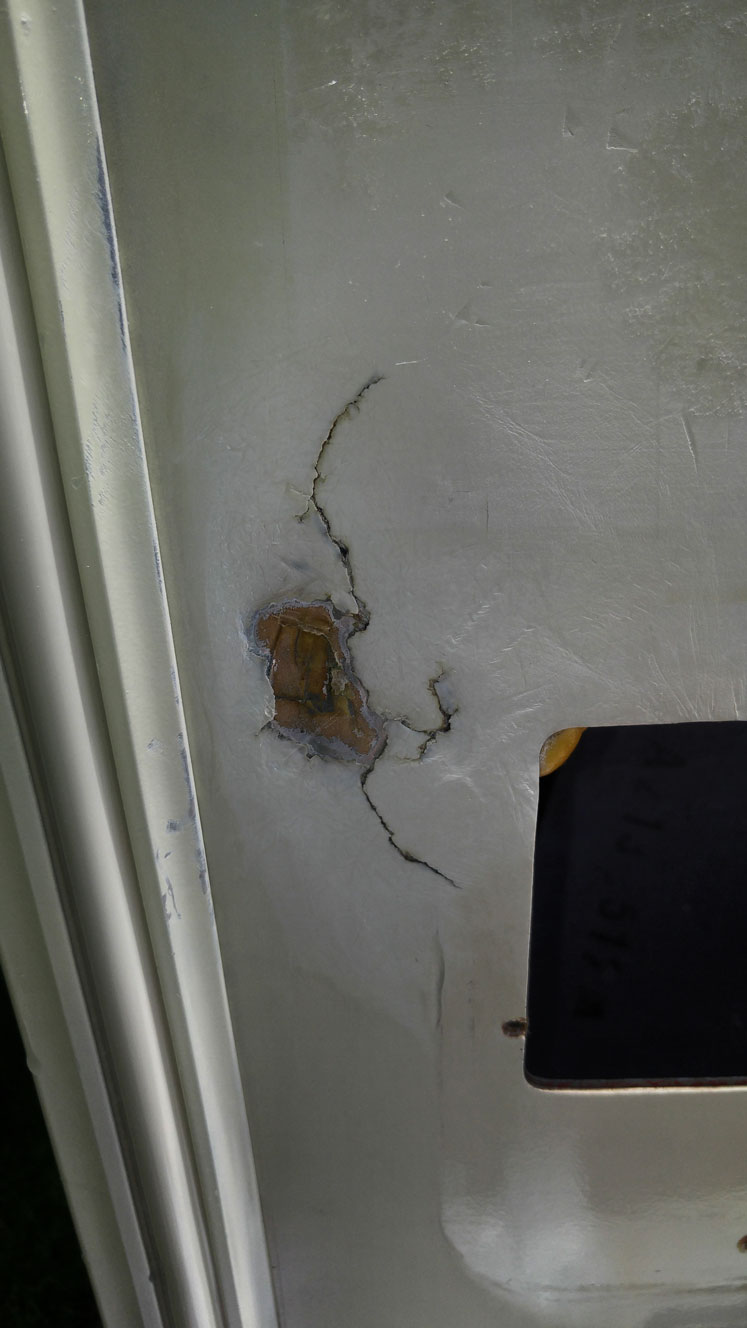
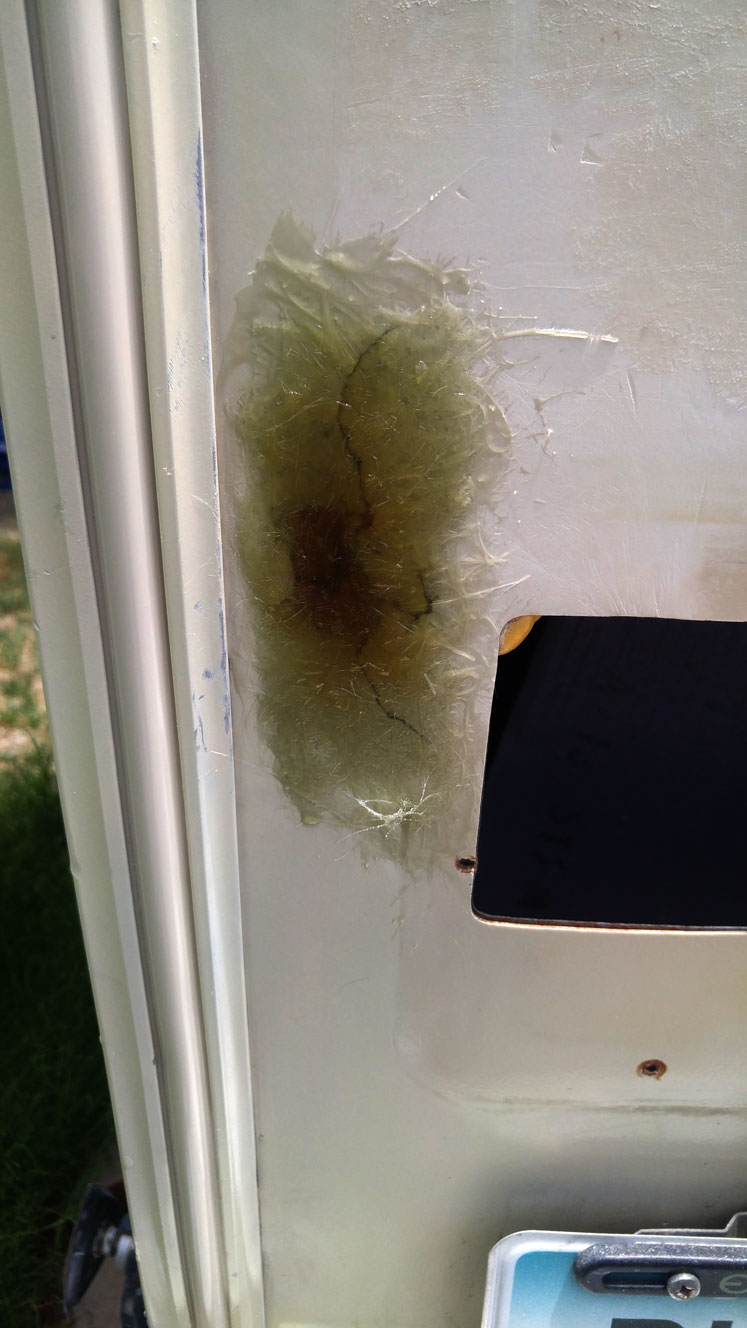
  20. Fixed multiple cracks in the exterior fiberglass panelling.
  21. Installed new electric radiator fan.
  22. Replaced the timing belt, water pump, alternator, intake manifold gaskets, all belts and radiator hoses, vacuum lines, spark plugs, spark plug wires, and distributor cap.
  23. Replaced toilet.
  24. Replaced the low-point drain valves and plumbing.
  25. Installed backup camera.
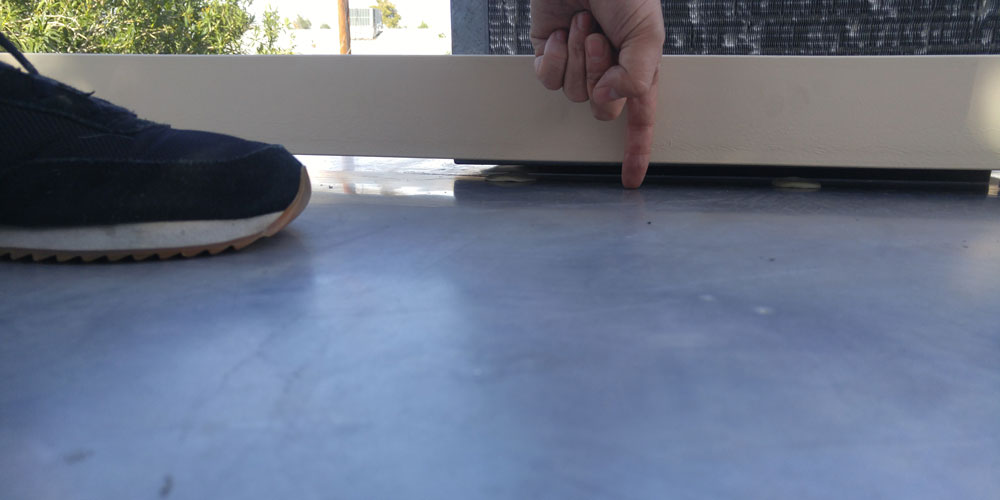
  26. Tried fixing coach AC leak by using plywood shims and replacing the gasket.
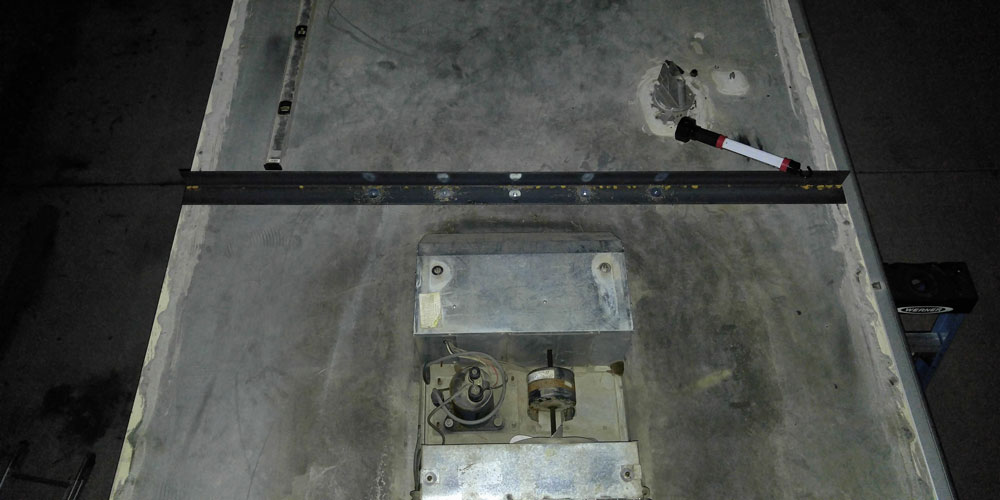
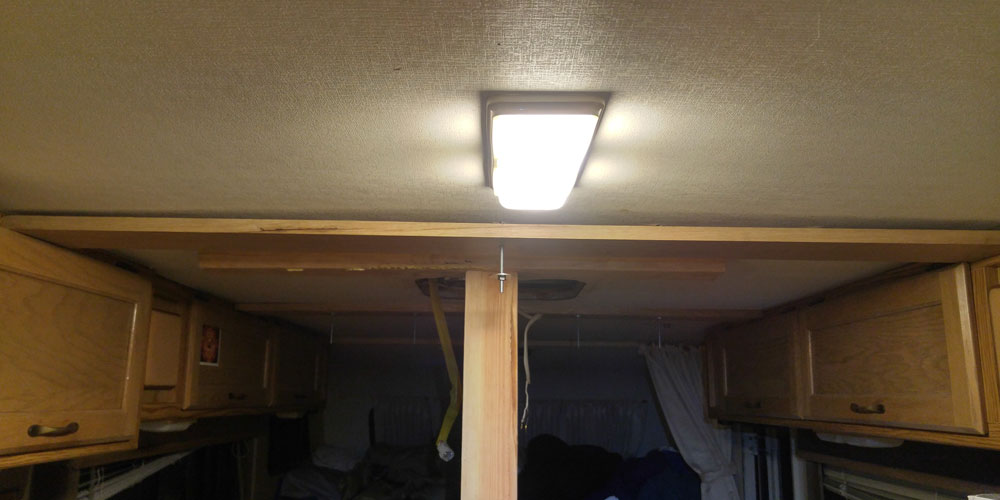
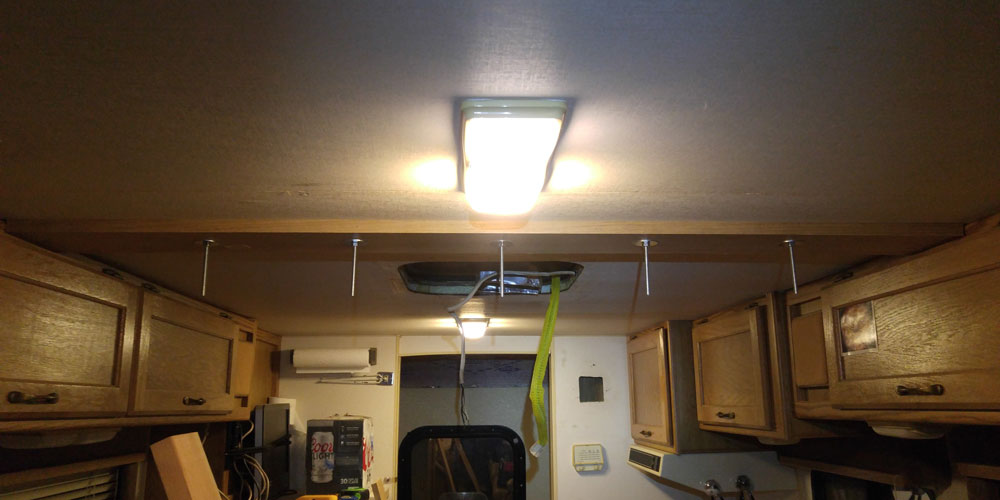
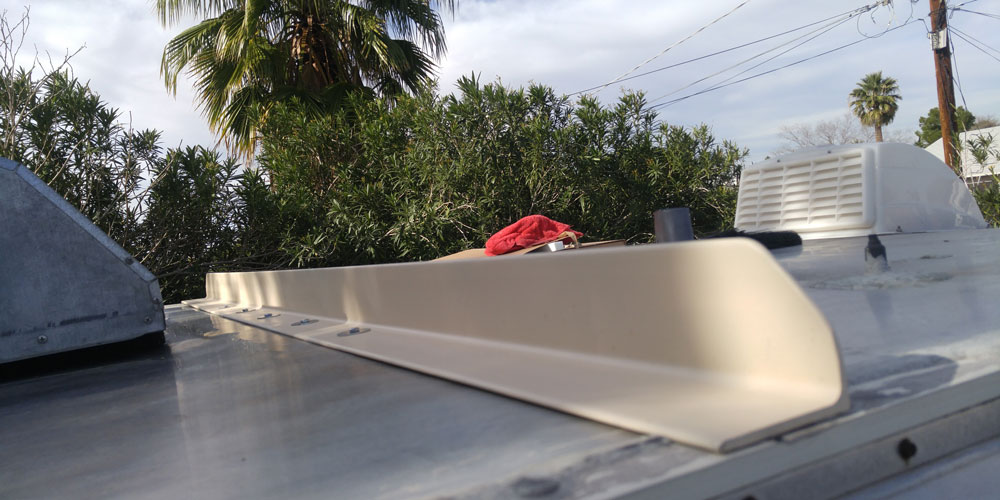
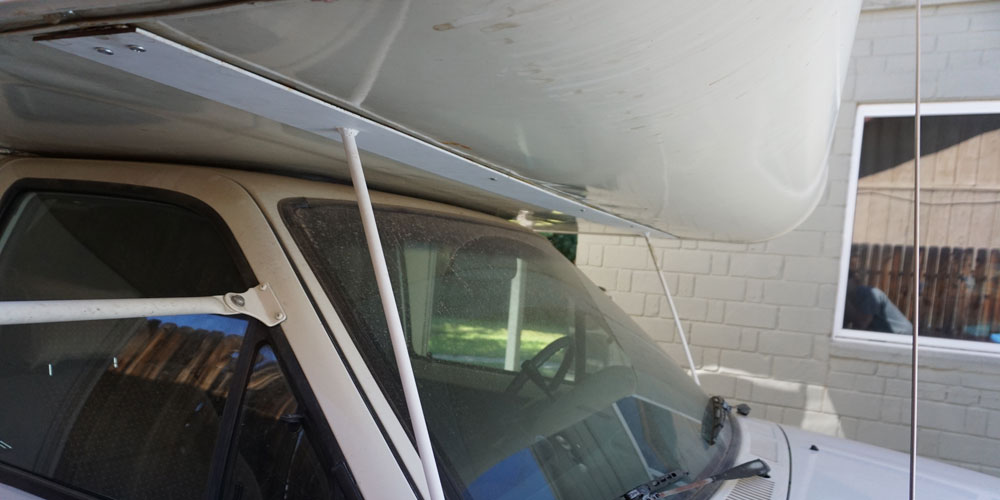
  27. FIXED the damn coach AC leak by installing 2″ angle iron cross-beams on the roof
  28. Ripped out the 26 year-old carpet and installed vinyl plank flooring.
  29. Upgraded the R12 air conditioning to R134A.
  30. Replaced the ABS and valves for the grey and black water poopy dump plumbing.
  31. Fabricated new bumper basket. Thanks 1ToyHero!! https://www.instagram.com/1toyhero/
  32. Fabricated new ladder.  Thanks 1ToyHero!!  https://www.instagram.com/1toyhero/
  33. Removed and patched old TV antenna.
  34. Ran wiring for solar panels and installed charge controller.
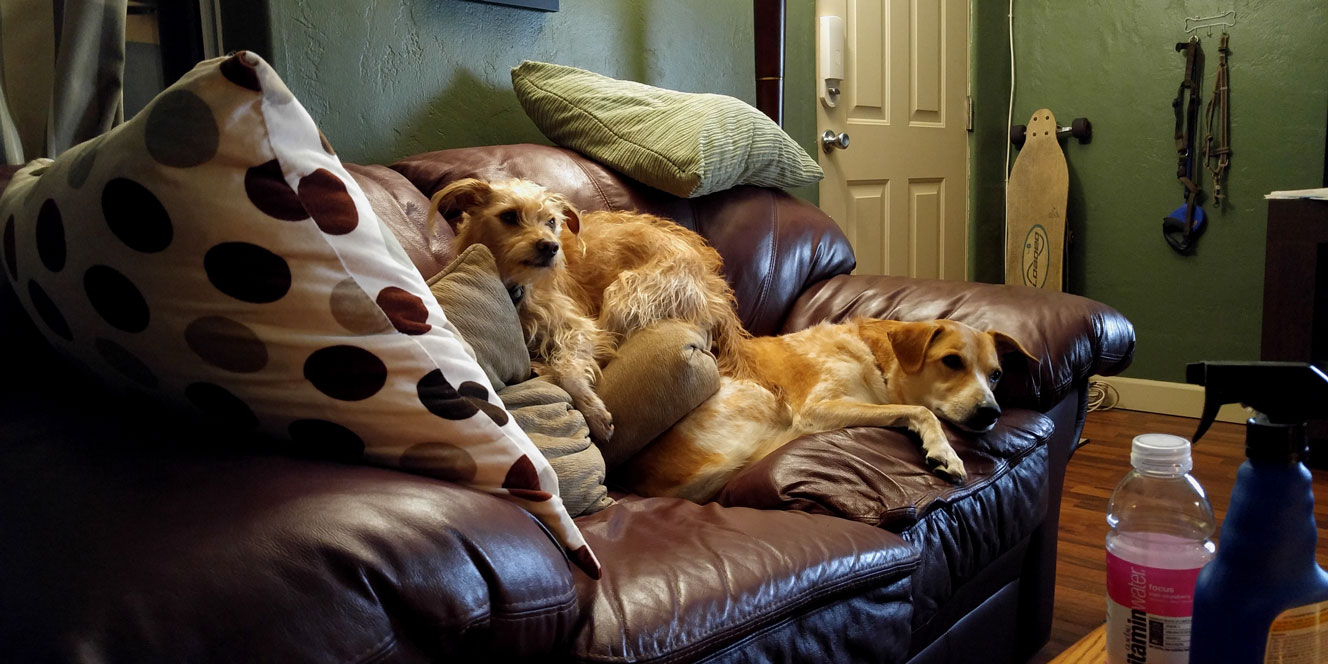
  35. Replaced 25-year old, Barbara-infused mattress with an Amazon special 5″ foam mattress.
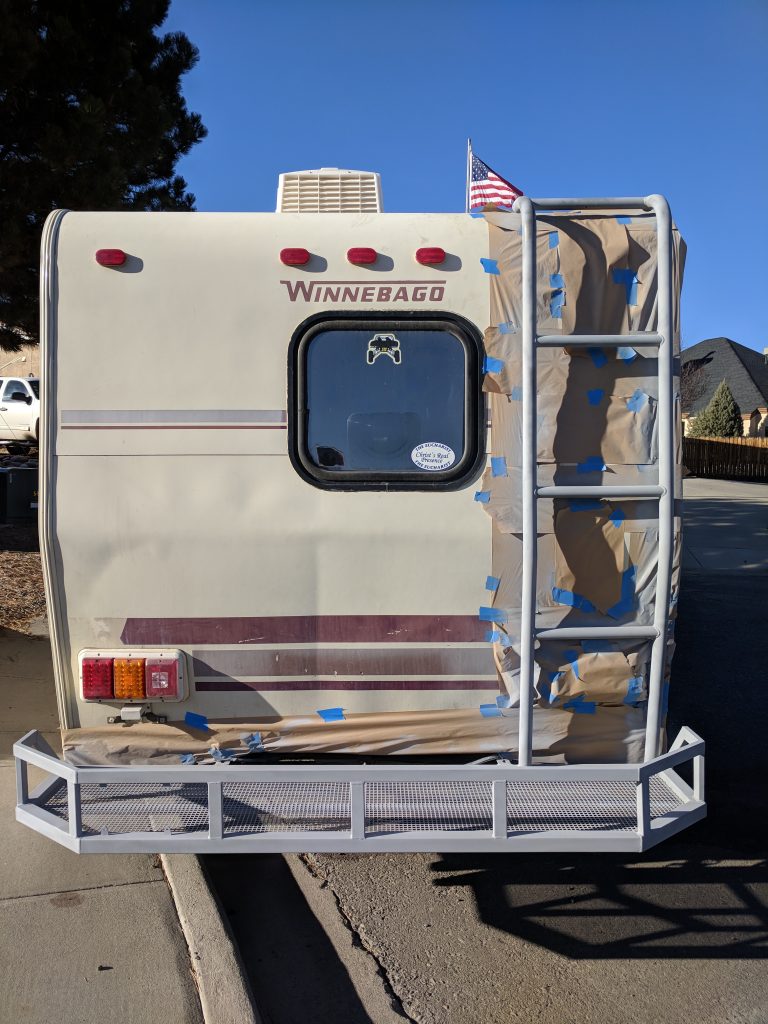
  36. Primed ladder and bumper.

Damn, now that I’ve written it all down, it doesn’t seem so bad for 2 years worth of leisurely upgrades and repairs.  I am currently painting the bumper and ladder, so this list is current as of today.  Somehow this unemployment thing hasn’t freed up a bunch of time, but my fun to lame ratio has absolutely increased, so I think I’m heading in the right direction.

IMG_1926 IMG_20171227_123130 IMG_20171230_123752 IMG_20180103_120013 IMG_20180104_115430

Sad, Saggy Roof

0108171227c
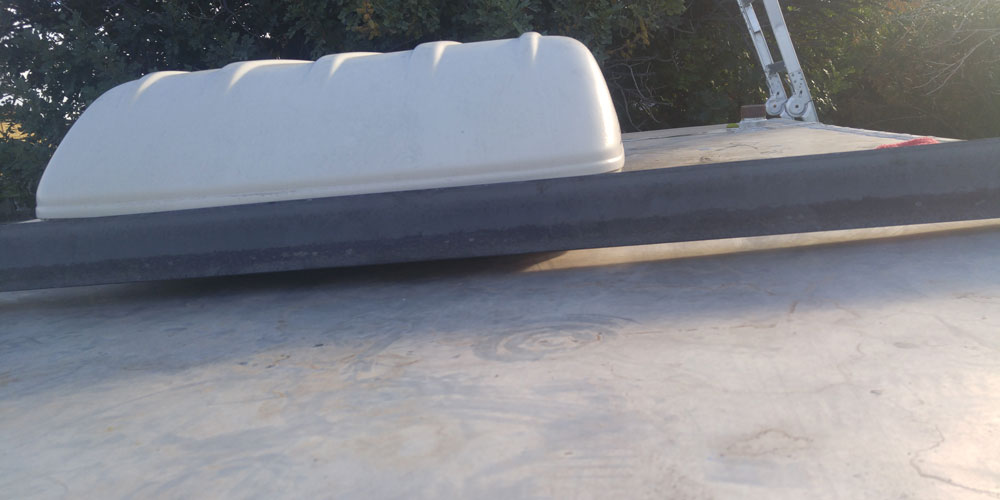
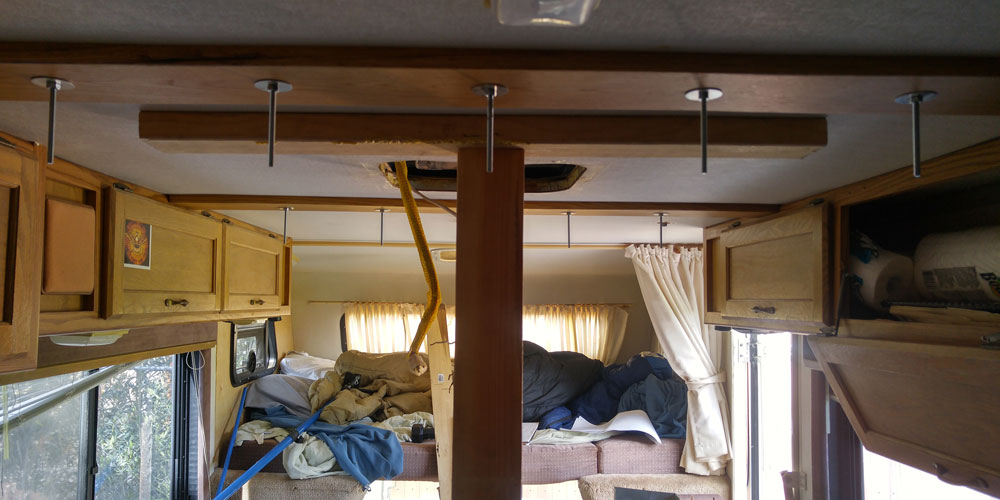
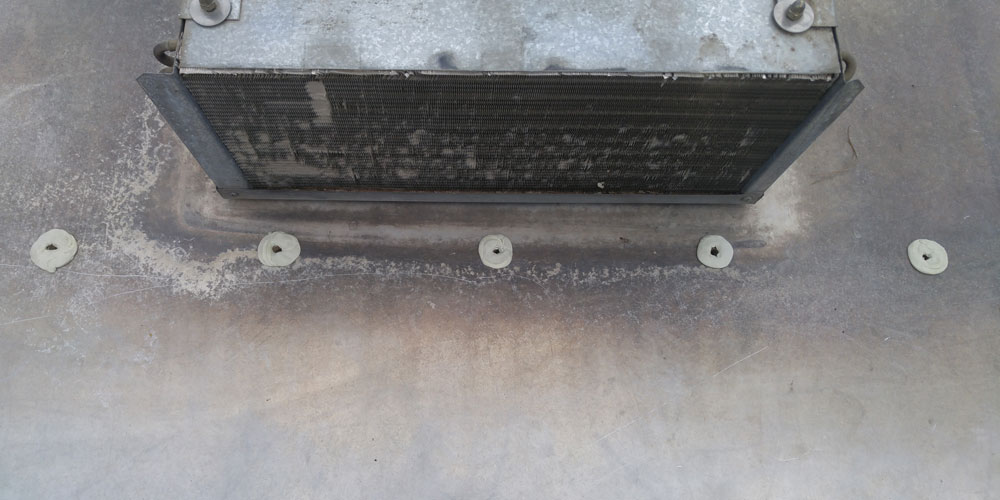
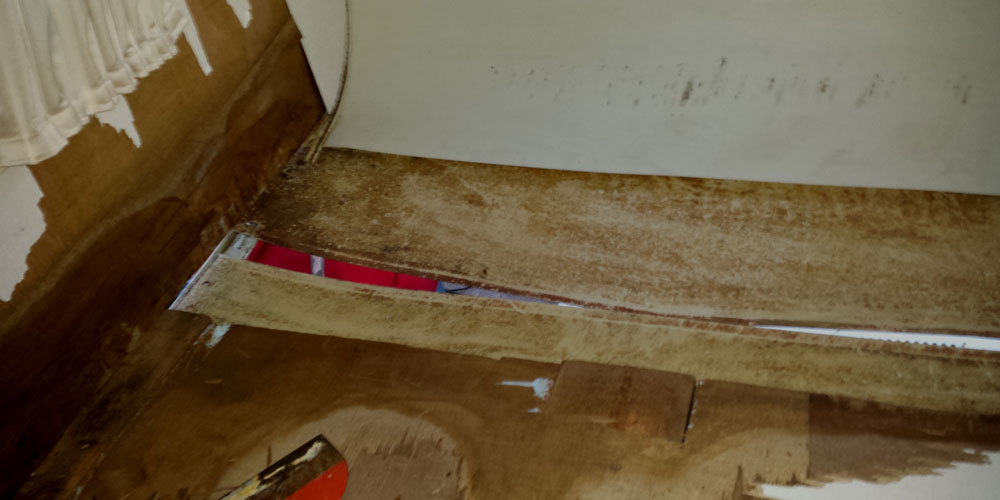
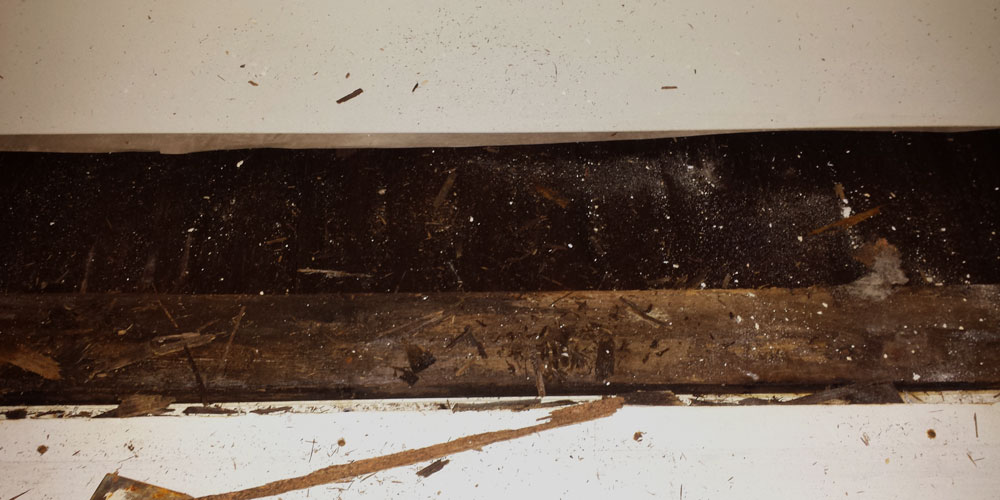
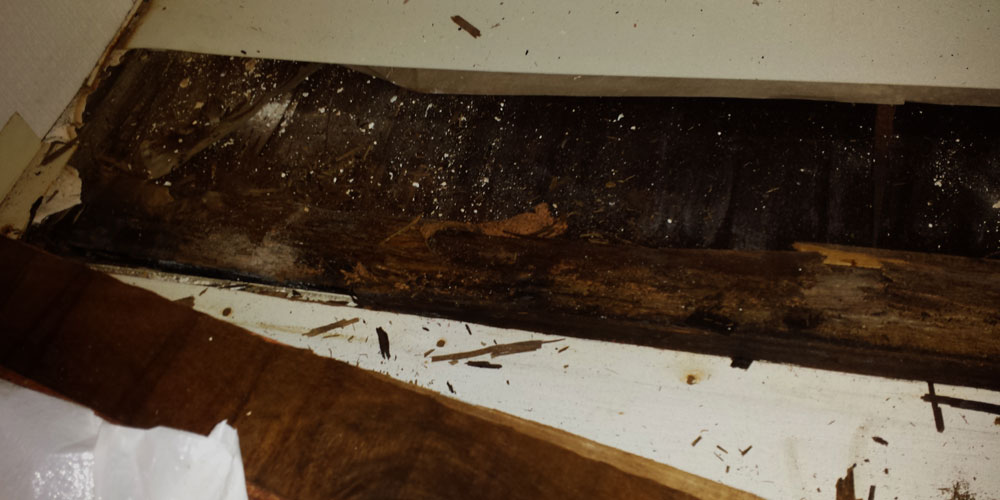
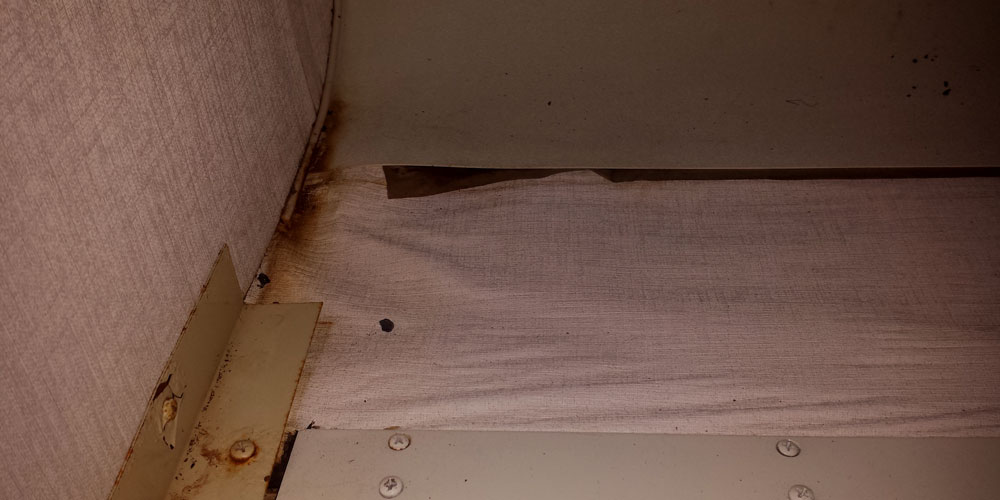
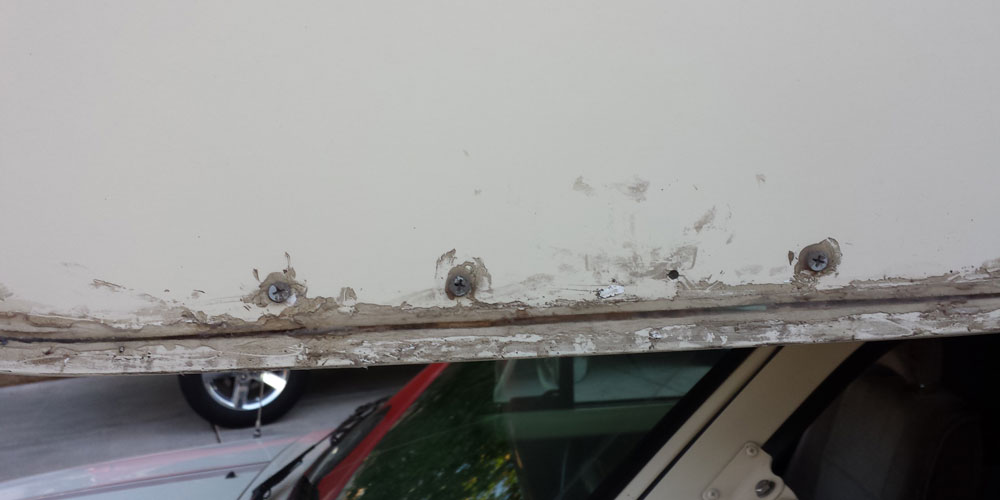
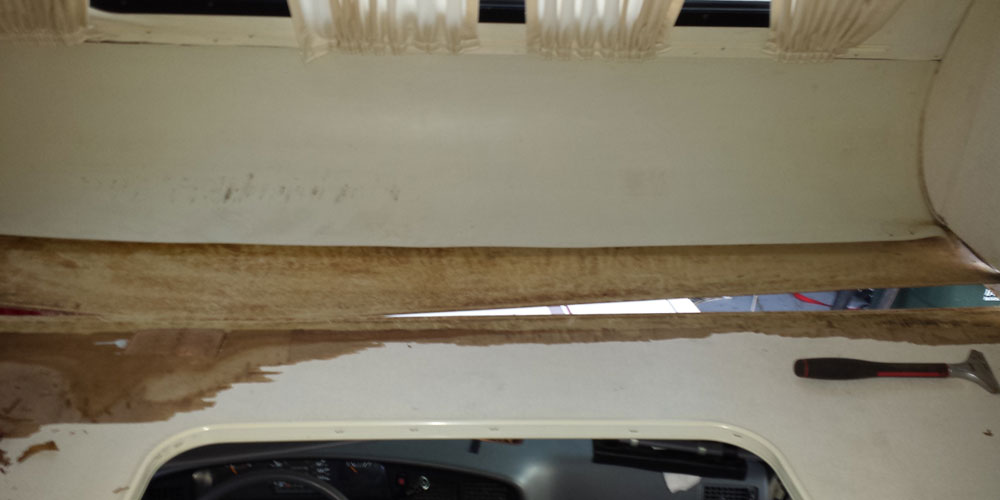
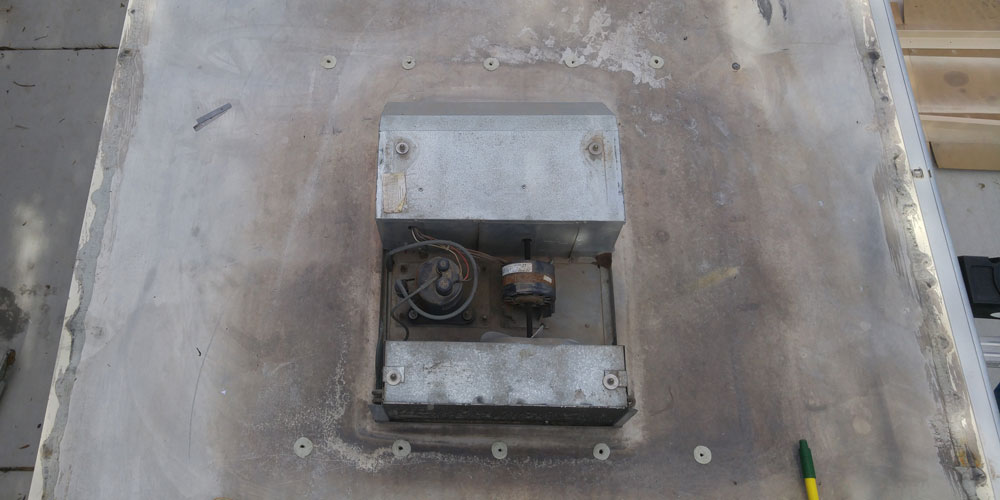
I’m ashamed to say that it was at this point in my life where I actually considered giving up on the old Yoterhome.  This is my second attempt at a fix to the issue of a saggy roof around the RV air conditioner, and thankfully, she’s still salvageable.  The water pooled so high in this spot that it actually went over the a/c gasket, into the coach, and onto my lovely carpet.  The first time this happened, I went with the easy fix, and inserted some small slats of 1/8″ plywood into the roof layers to raise the lip onto which the a/c sits, and replaced the gasket, in the hope that this will at least get the seal out of the water:1204161336_HDR

Credit to this poster on toytoamotorhome.org:

http://toyotamotorhome.org/forums/index.php?/topic/3693-my-fix-for-leaking-roof-around-ac/

Since it doesn’t rain much in Phoenix, it took another six months or so to realize that this fix was not going to suffice, and I was once again left with soggy carpet after an especially monsoony season.  So, I went on the hunt for another solution short of ripping the entire roof off and replacing the sagging support beams.  My roof seems to be in fairly decent shape otherwise, so I didn’t feel the need to go all in.  Cue this fix found on IRV2.com:
http://www.irv2.com/forums/f50/sagging-roof-fix-165695.html

Using a variation of this method, I went and bought two 7′ pieces of 3″x3″ angle iron to use as support beams across the roof.  Here’s the distance I was attempting to make up:

1230161529b0108171240c

I placed the two angle irons where I wanted them to the front and rear of the a/c, then I drilled five holes in each of the supports and the roof to accommodate 1/4″ bolts and fender washers.  I cut some 3/4″x5″ white oak for the inside ceiling, measured to go from cabinet to cabinet.  Then I measured the enter of those boards, and drilled the 5/8″ hole there for the center bolt.  Once the center bolt was bolted and holding the support in place, I went back up to the roof to drill the remaining 4 holes through each of the boards.  I also used a floor jack to get the roof into approximately it’s final position so that the holes were drilled accurately:

0103171945a0103171931_HDR0103171951a

Then, after test fitting everything, I removed the angle iron supports and gave them a good coat of paint and primer.  I also took down the oak supports, hit them with a 1/4″ round bevel, and gave them a coat of Danish oil (Golden Oak).  After all was said and done, I’m very pleased with the results.  I watched the angle iron as the jack was removed, and it looks like it didn’t bend more than an 1/8 of an inch.  When looking at the inside supports, it actually has a domed appearance now as opposed to an a/c hammock!

0108171303a01081712470108171320_HDR

Then of course I cut the remainder of the bolts, knowing that if those nuts were to ever come off, the ends of those bolts would disappear up into the roof.  Another important step to consider is sealing the holes that are drilled through the roof.  To accomplish this, I surrounded each of the holes with butyl tape:

0108171227e

Yoterhome Construction Materials

20150322_183744-sized 20150320_194740-sized 20150320_194745-sized 20150319_205153-sized 20150313_180418-sized

My recommendation when re-building any part of an old rig is, don’t hesitate to rip out all of the old, busted pieces.  I learned this by trial and error, and always ended up ripping everything out eventually in order to fix the problems.  Also, don’t always put things back together the way that the manufacturer did.  This was the case when re-building the first piece of water damage that I took on, the overact bed area.  Over the years, the weight in the bed area caused the seams to sag and let water in, so I put in extra reinforcement to improve the original construction.  Once the damaged, rotted wood and styrofoam were removed from under the bed area, I replaced everything with higher quality materials.  I bought the most rigid foam insulation I could find, white oak for reinforcing the structural supports, and, through trial and error, the best glues and self-penetrating screws i could find.  By learning the hard way, I found out what worked for each purpose.  Hopefully someone reading this won’t have to waste time and money figuring out what works.  Here is the majority of what is holding my Yoterhome together:

Butyl Tape – Indispensable.  Every seam I took apart, be it the windows, the corner seams, the roof vents, and even the tail lights, I put butyl tape underneath everything before screwing it back together.  It’s fairly easy to work with, and can be molded to cover up virtually any seam, and never dries out on you when you’re trying to work with it.  The stuff never gets completely solid, so it lasts forever.

0528161607d-sized 0528161607b-sized

sized--DSC00501

Geocell Proflex RV Sealant – After countless hours of scraping, sanding, cleaning, and scraping again, I needed to replace the horribly-smeared sealants the previous owner applied blindfolded with something that would last and look nice.  Underneath all the seams I had to disassemble, I put a healthy layer of butyl tape first.  On the exterior of the seams, after bonding with screws, I used Proflex of all different colors. I used Proflex on the corner seams, the marker lights, the tail lights, in the shower, and on some exterior panelling .  The stuff is extremely tacky and thick, so it will stick to anything, and will last forever.  It’s another sealant that never really fully dries, and flexes with the rig.  Awesome stuff, buy a bunch.

Eternabond Tape Also indispensable.  This is for taping the seams of the roof.  The old lap sealant on the Yoterhome was cracked and leaking in places, so I scraped off as much of the old goop as possible, used tech screws (instead of the original staples) to re-attach the metal roof to the underlying frame, and put a fresh strip of Eternabond over the seam.  This stuff works great, but doesn’t look amazing, so I recommend only using this for the roof where nobody will see it.  Word of caution, once this stuff is stuck, it does not become un-stuck, so be careful that it’s put in the right spot the first time.

Self-Tapping Screws – Buy a box of every size from 3/4” to 2”, as the thickness of the walls vary, and you don’t want to be screwing through walls.  This puppies will tap into anything, and I secured the coach to the metal frame wherever I could.  I couldn’t believe that so many of the manufacturer screws were secured only by the underlying foam insulation.  Whenever I ran into this, I glued some plywood into place as backing.

West System Epoxy, Thickener, and Hardener – After using multiple goops that come out of a tube of caulk, I finally found that none of it would adhere the outside fiberglass paneling to the next layer of 1/8” plywood.  Do yourself a favor and buy the good stuff to begin with.  This goo is pretty hard to work with, and hardens extremely fast.  Work in small sections, and definitely y use 2 people for this job.  One spreading the epoxy as another is mixing up new batches.  

FRP (Fiber-Reinforced Plastic)  This is another yet another material I used after failing with something else.  I initially tried to construct the internal shower walls fiscally the same as Winnebago had done.  I cut out 1/8” plywood to fit, then tried to glue a thin, shitty plastic panel to the plywood to water-proof it.  This didn’t glue very well, left bubbles, so I had to remove a wall and re-do it.  With quality FRP, I didn’t have to use the plywood, as the FRP is rigid and heavy, and I glued it directly to the foam insulation.  For FRP adhesive, only use Titebond Fast Grab, and use the correct trowel size.  More information I learned the hard way.

sized-20150319_191451 sized-20150319_191606 sized-DSC00510

LED Lighting – I replaced every light bulb on the Winnebago Warrior with an LED.  Buy them off of Amazon because their way more expensive at RV stores.  I replaced all exterior marker lights, all interior 1156 bulbs, and the tail lights with LEDs.  I got lucky and found the direct replacement Bargman triple-LED taillights on eBay for $80.

sized-20150321_112107-1024x576 sized-DSC00493

Fiberglass Kit – I used the Bondo kit, and it worked fine.  This is to repair any cracks or holes in the fiberglass.  Be sure to sue body filler on top of the fiberglass in order to get a smooth, sanded surface to paint over.

aized-0610161108 sized-0610161140a

1991 Winnebago Micro Warrior 321RB

aized-DSCN1554-(1) sizedDSC00517

She’s 21′, saddling a 1990 Toyota V6 3VZE, 1-ton of pure freedom.  March 17, 2015, marks the beginning of my journey into having no clue as to what the fuck I’m doing.  With the intentions of selling everything, quitting my job, packing up the dogs and hitting the road, I started tearing apart my new, old Yoterhome.  In hindsight, I shouldn’t have paid $9,000 for it, and got slightly hustled by a lovely 80 year-old woman from Sun City.  I didn’t realize that 4 walls were completely rotted out and had to be rebuilt, I guess I should’ve poked around more.  Oh well, not much I can do about it now, and the truck is mechanically solid.  Now, almost a year into the project, and 3/4 walls are complete, the stereo works, I have power windows and locks, and there’s almost no leaking! With any luck, my repairs are somewhat decent, and it will serve as one of the 3 things I need to survive.  I wouldn’t be sad if I never had repair a composite wall again.  You would think that gluing foam to wood to fiberglass would be relatively straight-forward, but it unquestionably isn’t.  It’s hours of scraping, cutting, measuring, bracing, and endless shopping for the right glue.  For anyone else that needs to repair a rotted out RV wall, here are a few tips that  learned the hard way:

  • Stock up up on 4-5 of these braces from Harbor Freight (http://www.harborfreight.com/2-in-1-support-cargo-bar-66172.html).  They’re invaluable for bracing a vertical wall while the glue/ epoxy is setting.
  • Use quality epoxy for gluing the fiberglass to a hardwood veneer plywood.  Nothing else I tried will create a hardened, waterproof bond that will last the lifetime of the coach.  I used the West System (http://www.westsystem.com/ss/) with great results, after Liquid Nails didn’t handle the job.
  • Remove EVERYTHING that’s fucked up.  Don’t half-ass it, it’ll be harder retrofitting your broken shit than it will be to rip it all out and hang a completely new wall.  It brings a peace-of-mid knowing when a problem is fixed and will never happen again.
20150319_19160620150329_182210
  • Reinforce the overcab bed area. It looks like it happens to almost all Yoterhomes, the under-bed support is completely insufficient.  My solution was to weld a steel plate under the bed that’s supported by the truck.
20150322_183729 DSC00515
  • Test your glue!  I failed miserably with any adhesive that came in a caulk tube.  My new walls are held together with gorilla glue and epoxy.  If you want it to last forever, use quality materials.
  • Attempt to rebuild the wall using the exact thickness of the pieces that came out.